Looking to polish your YouTube videos? This guide on how to edit YouTube videos covers the basics to advanced techniques, step-by-step. Expect to learn essential tools, trimming, adding effects, and more to create engaging content.
Key Takeaways
-
Utilize platforms like Pictory for flexible video editing, allowing both template use and bespoke enhancements to videos.
-
Incorporate basic edits such as trimming, rearranging clips, and adding text or music to enhance video flow and engagement.
-
Optimize videos for YouTube by ensuring effective titles, descriptions, thumbnails, and utilizing interactive elements to increase visibility.
Getting Started with YouTube Video Editing with Pictory

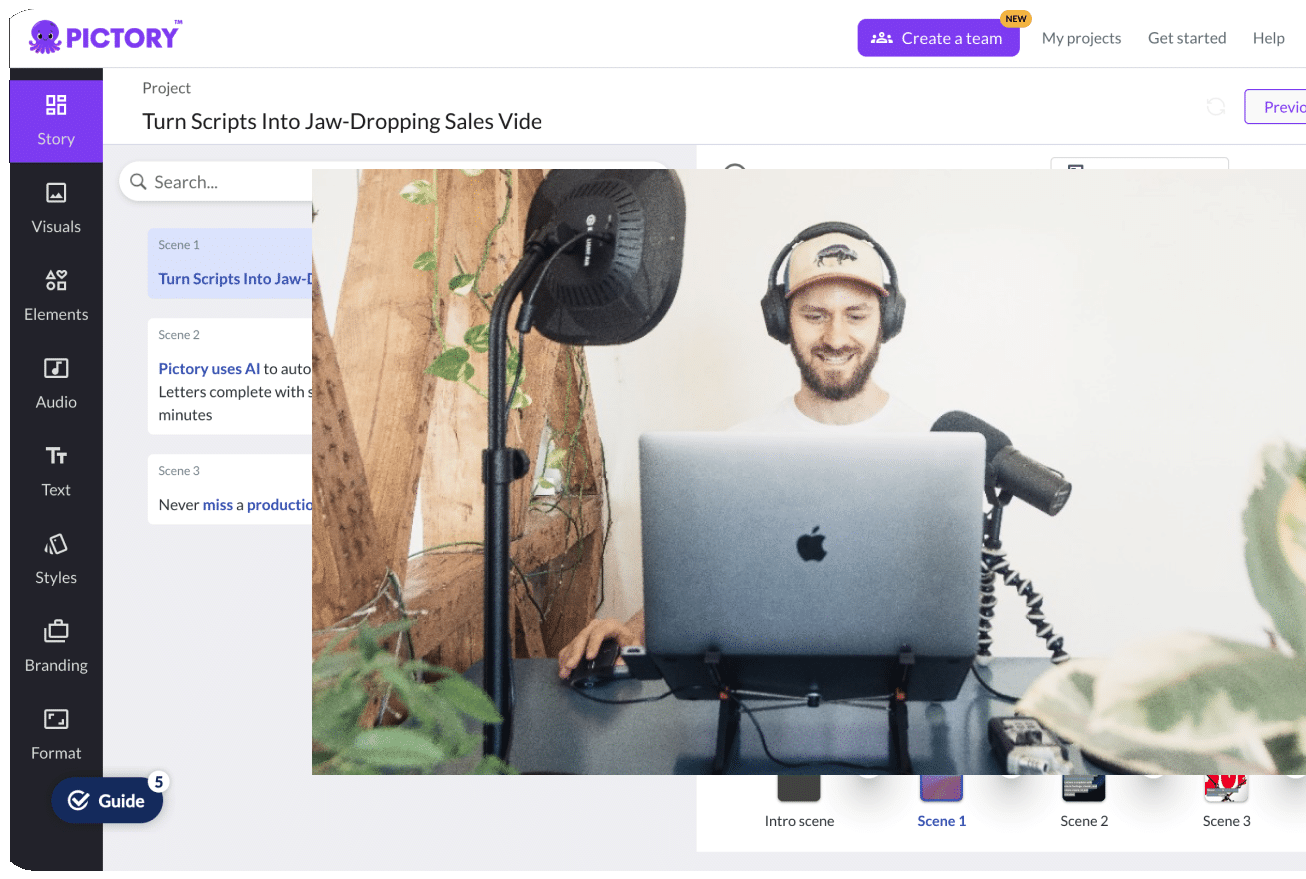
Beginning your video editing journey with Pictory is simple. Upload your video to the platform, either by selecting existing files or choosing from various templates. This flexibility allows you to start from scratch or enhance pre-recorded footage effectively.
After uploading your video clip, access the content editing tab, similar to YouTube Studio’s ‘Content’ sidebar. Maintaining a consistent approach to edit videos and staying updated with audience trends are key to successful editing YouTube videos.
With Pictory, you’ll find it easy to maintain this consistency while exploring creative editing possibilities.
Basic Edits to Enhance Your Video

Basic edits are the cornerstone of any well-produced video. They not only improve the flow and pacing but also ensure your content remains engaging from start to finish. One of the most vital tools in your editing arsenal is the trim tool, which allows you to remove unwanted sections from both ends of your video. In YouTube Studio, this can be done using the Trim & Cut command, where you adjust the timeline borders to trim your footage precisely.
Rearranging clips is another fundamental edit that can significantly alter the narrative of your video editor. By selecting a clip and moving it to the desired position in the timeline, you can craft a story that resonates with your audience. Many online editors provide visual previews, making it easier to see the effects of your edits in real time, which can be incredibly helpful when deciding where to cut or trim.
Adjust the length of your video file by dragging the edges of the clip in the timeline. This fine-tuning ensures that only the most relevant content makes it into the final cut, adding a professional touch to your video.
Basic edits might seem simple, but they lay the foundation for all the edits that lead to more advanced editing techniques.
Adding Text and Titles
Incorporating text and titles enhances viewer engagement and delivers key information effectively. Pictory offers features like motion titles, lower thirds, and overlays to add dynamic elements to your content, complementing your video without distracting from the main message.
In the Pictory app, add text by following these steps:
-
Select the Text command.
-
Choose its layout.
-
Set the duration.
-
Click Done.
This straightforward process enables even beginners to add professional-looking text to their videos. Incorporating engaging elements like text, shapes, animations, and transitions significantly enhances the viewing experience.
Choose text and title elements that align with your video’s theme and tone. Dynamic elements like icons and animations can effectively keep viewers engaged. Aim to enhance the video content without overwhelming it.
Incorporating Music and Sound Effects

Music and sound effects play a pivotal role in setting the mood and enhancing the overall impact of your video. YouTube Studio offers a library of licensed tracks, including music from the Audio Library, which can be used in monetized videos. This means you can add high-quality audio to your videos without worrying about copyright issues.
To add music to your video in YouTube Studio, follow these steps:
-
Select the video you want to edit.
-
Navigate to the Editor.
-
Use search filters to find and add new audio tracks.
-
Adjust the audio track’s start time and duration by dragging the audio box in the editor to sync the music perfectly with your footage.
The right sound effects can transform your video content, making it more engaging and professional.
Using Transitions and Animations
Transitions connect different shots and maintain a smooth flow in your video. Simple cuts are frequently used for a clean and unobtrusive scene switch. Fades and dissolves can add closure or signify a narrative change.
Cross-fades let two clips be visible simultaneously during transitions, often implying the passage of time. Wipes and 3D transitions add visual interest but should be used sparingly to avoid an amateurish look. Consistent transition styles prevent viewer distraction and maintain a professional appearance.
Animations can enhance the viewing experience. Simple motion graphics or complex animations can emphasize key points and keep your audience engaged, but ensure they are relevant and not overused.
Enhancing Video Quality with Effects
Enhancing video quality with effects can significantly impact audience perception. YouTube’s editing tools offer color correction options, allowing adjustments to contrast, saturation, and tint to achieve the desired look, making your video more visually appealing and professional.
YouTube’s preset filters, with adjustable intensity sliders, offer control over your video’s final appearance. Add effects to clips by selecting the desired clip and browsing available options in the editing toolbar. These tools can elevate your video content and help you edit youtube videos, making youtube videos pop and stand out.
Remember, the key to using effects is subtlety. Overdoing it can distract from the content, so aim for enhancements that complement your video rather than overshadow it.
Creating Engaging Thumbnails

Thumbnails are the first thing viewers see and play a crucial role in capturing attention. Effective thumbnails should be exciting and intriguing, giving viewers a reason to click. Custom thumbnails are associated with 90% of the most successful videos, highlighting their importance.
Create compelling thumbnails by using high-quality stock images and applying the ‘rule of thirds’ for visual appeal. Easy-to-read fonts for text overlays enhance engagement by making thumbnails more informative. Taking multiple pictures during filming provides a variety of post-editing thumbnail options.
Different audiences prefer various thumbnail styles, so staying updated on trends helps design thumbnails that resonate with viewers. A well-designed thumbnail can significantly enhance click-through rates and serve as an effective marketing visual.
Exporting and Uploading Your Edited Video

After finishing editing, exporting and uploading your video is the final step. In Pictory, export your video by clicking the Export button, with 1080p HD as the final quality option. Choosing the appropriate video quality ensures your content looks sharp and professional.
When uploading to YouTube Studio, add a description, choose a thumbnail, add the video to a playlist, and set the audience level. Include captions and subtitles during the upload process, either manually or via auto-translate, to make your video accessible and engaging to a broader audience.
Optimizing Videos for YouTube

Optimizing videos for YouTube involves steps that increase visibility and engagement. Adding a title, description, and thumbnail during upload helps categorize your content and attract viewers. Effective use of video tags can further improve searchability.
Incorporate interactive elements like timestamps in video descriptions to let viewers navigate to specific moments. End screens in the last 5-20 seconds promote subscriptions and direct viewers to related content. Interactive cards enhance engagement by directing viewers to additional content or encouraging interaction.
Transcribing videos makes them accessible to a wider audience, including those with hearing impairments. Optimizing your video content ensures it reaches its full potential on YouTube.
Real-Time Collaboration Tools
Real-time collaboration tools are invaluable for teams working on a video project. Platforms like Evercast offer features like 4K live streaming and ultra-low latency for seamless collaboration. Wipster and Frame.io provide collaborative workspaces for team members to leave timestamped feedback and annotations directly on the video content.
These tools enhance teamwork and streamline the video editing process by reducing revision time. Using real-time collaboration tools can significantly improve productivity and the overall quality of your video projects.
Learning from Tutorials

Learning from tutorials is invaluable for improving video editing skills. Many online platforms frequently update tutorials to reflect the latest software and trends. YouTube channels dedicated to video editing tips and tricks provide a wealth of knowledge and practical projects for real-time practice.
Using these resources helps you create high-quality videos with confidence. Whether you’re a beginner or an experienced editor, there’s always something new to learn from tutorials. Explore these resources and watch your editing skills soar.
Taking Breaks During Editing
Taking breaks during video editing is essential for maintaining creativity and avoiding burnout. Long editing sessions without breaks can lead to feeling stuck or doubting your work. Regular breaks provide a fresh perspective and enhance productivity.
Regular breaks reduce stress and improve the quality of your edits, keeping you focused and creative throughout the process. Remember to step away from your computer every now and then to recharge.
Summary
In summary, editing YouTube videos quickly and for free is entirely achievable with the right tools and techniques. From basic edits and adding text to incorporating music and optimizing your videos for YouTube, each step plays a crucial role in creating engaging video content. Remember to take advantage of real-time collaboration tools and continually learn from tutorials to keep your skills sharp.
By following these tips, you’ll be well on your way to producing high-quality videos that captivate your audience and enhance your YouTube channel. So, start editing and watch your content shine!
Frequently Asked Questions
The first step in editing YouTube videos with Pictory is to upload your video or select a video template. This will set the foundation for your editing process.
To add music to your video in YouTube Studio, select the video, go to the Editor, and use the search filters to find and incorporate new audio tracks.
To enhance your video effectively, focus on trimming unwanted sections, rearranging clips for better flow, and adjusting the overall length. These simple edits can significantly improve the quality and engagement of your content.
To enhance your video’s visibility on YouTube, focus on creating compelling titles, detailed descriptions, eye-catching thumbnails, and strategic use of video tags. Implementing timestamps, end screens, and interactive cards can also significantly boost engagement and discoverability.


