Explainer videos help people understand a topic quickly. They turn complex ideas into simple visual stories that are easy to follow. Pictory AI makes it fast to create high quality explainer videos using scripts, URLs, presentations, audio, or screen recordings.
This guide shows you how to create clear and engaging explainer videos using Pictory AI.
Why Pictory AI Works for Explainer Videos
Explainer videos need to communicate ideas clearly. They also need structure, visuals, and narration that guide the viewer smoothly from one idea to the next. Pictory helps you achieve this by offering:
• Automatic scene creation based on your script
• AI script tools that help refine your message
• A full visual library for demonstrations and examples
• Text overlays, captions, and animated elements
• Brand Kits for consistent design
• Timeline controls for precise pacing
Explainer videos created in Pictory stay clear, professional, and easy for viewers to understand.
Step 1: Start With the Right Workflow
Pictory gives you several entry points depending on how your explainer content begins.
- Text to Video: Use this when you already have a written explanation, script, or outline. Paste the text and Pictory turns it into a storyboard with scenes.
- URL to Video: Use this when your explanation exists in an article or webpage. Paste the URL and Pictory creates an explainer script for you.
- PPT to Video: Upload your slide deck and transform it into a smooth, narrated explainer video.
- AI Video Editor: Upload an existing video or tutorial. Use the transcript editor to clean, tighten, and restructure it into an explainer format.
- Audio to Video: Use a recorded explanation and let Pictory build visuals and captions around your narration.
- Record Screen or Camera Capture product demos or on camera explanations, then edit them inside Pictory’s AI workspace.
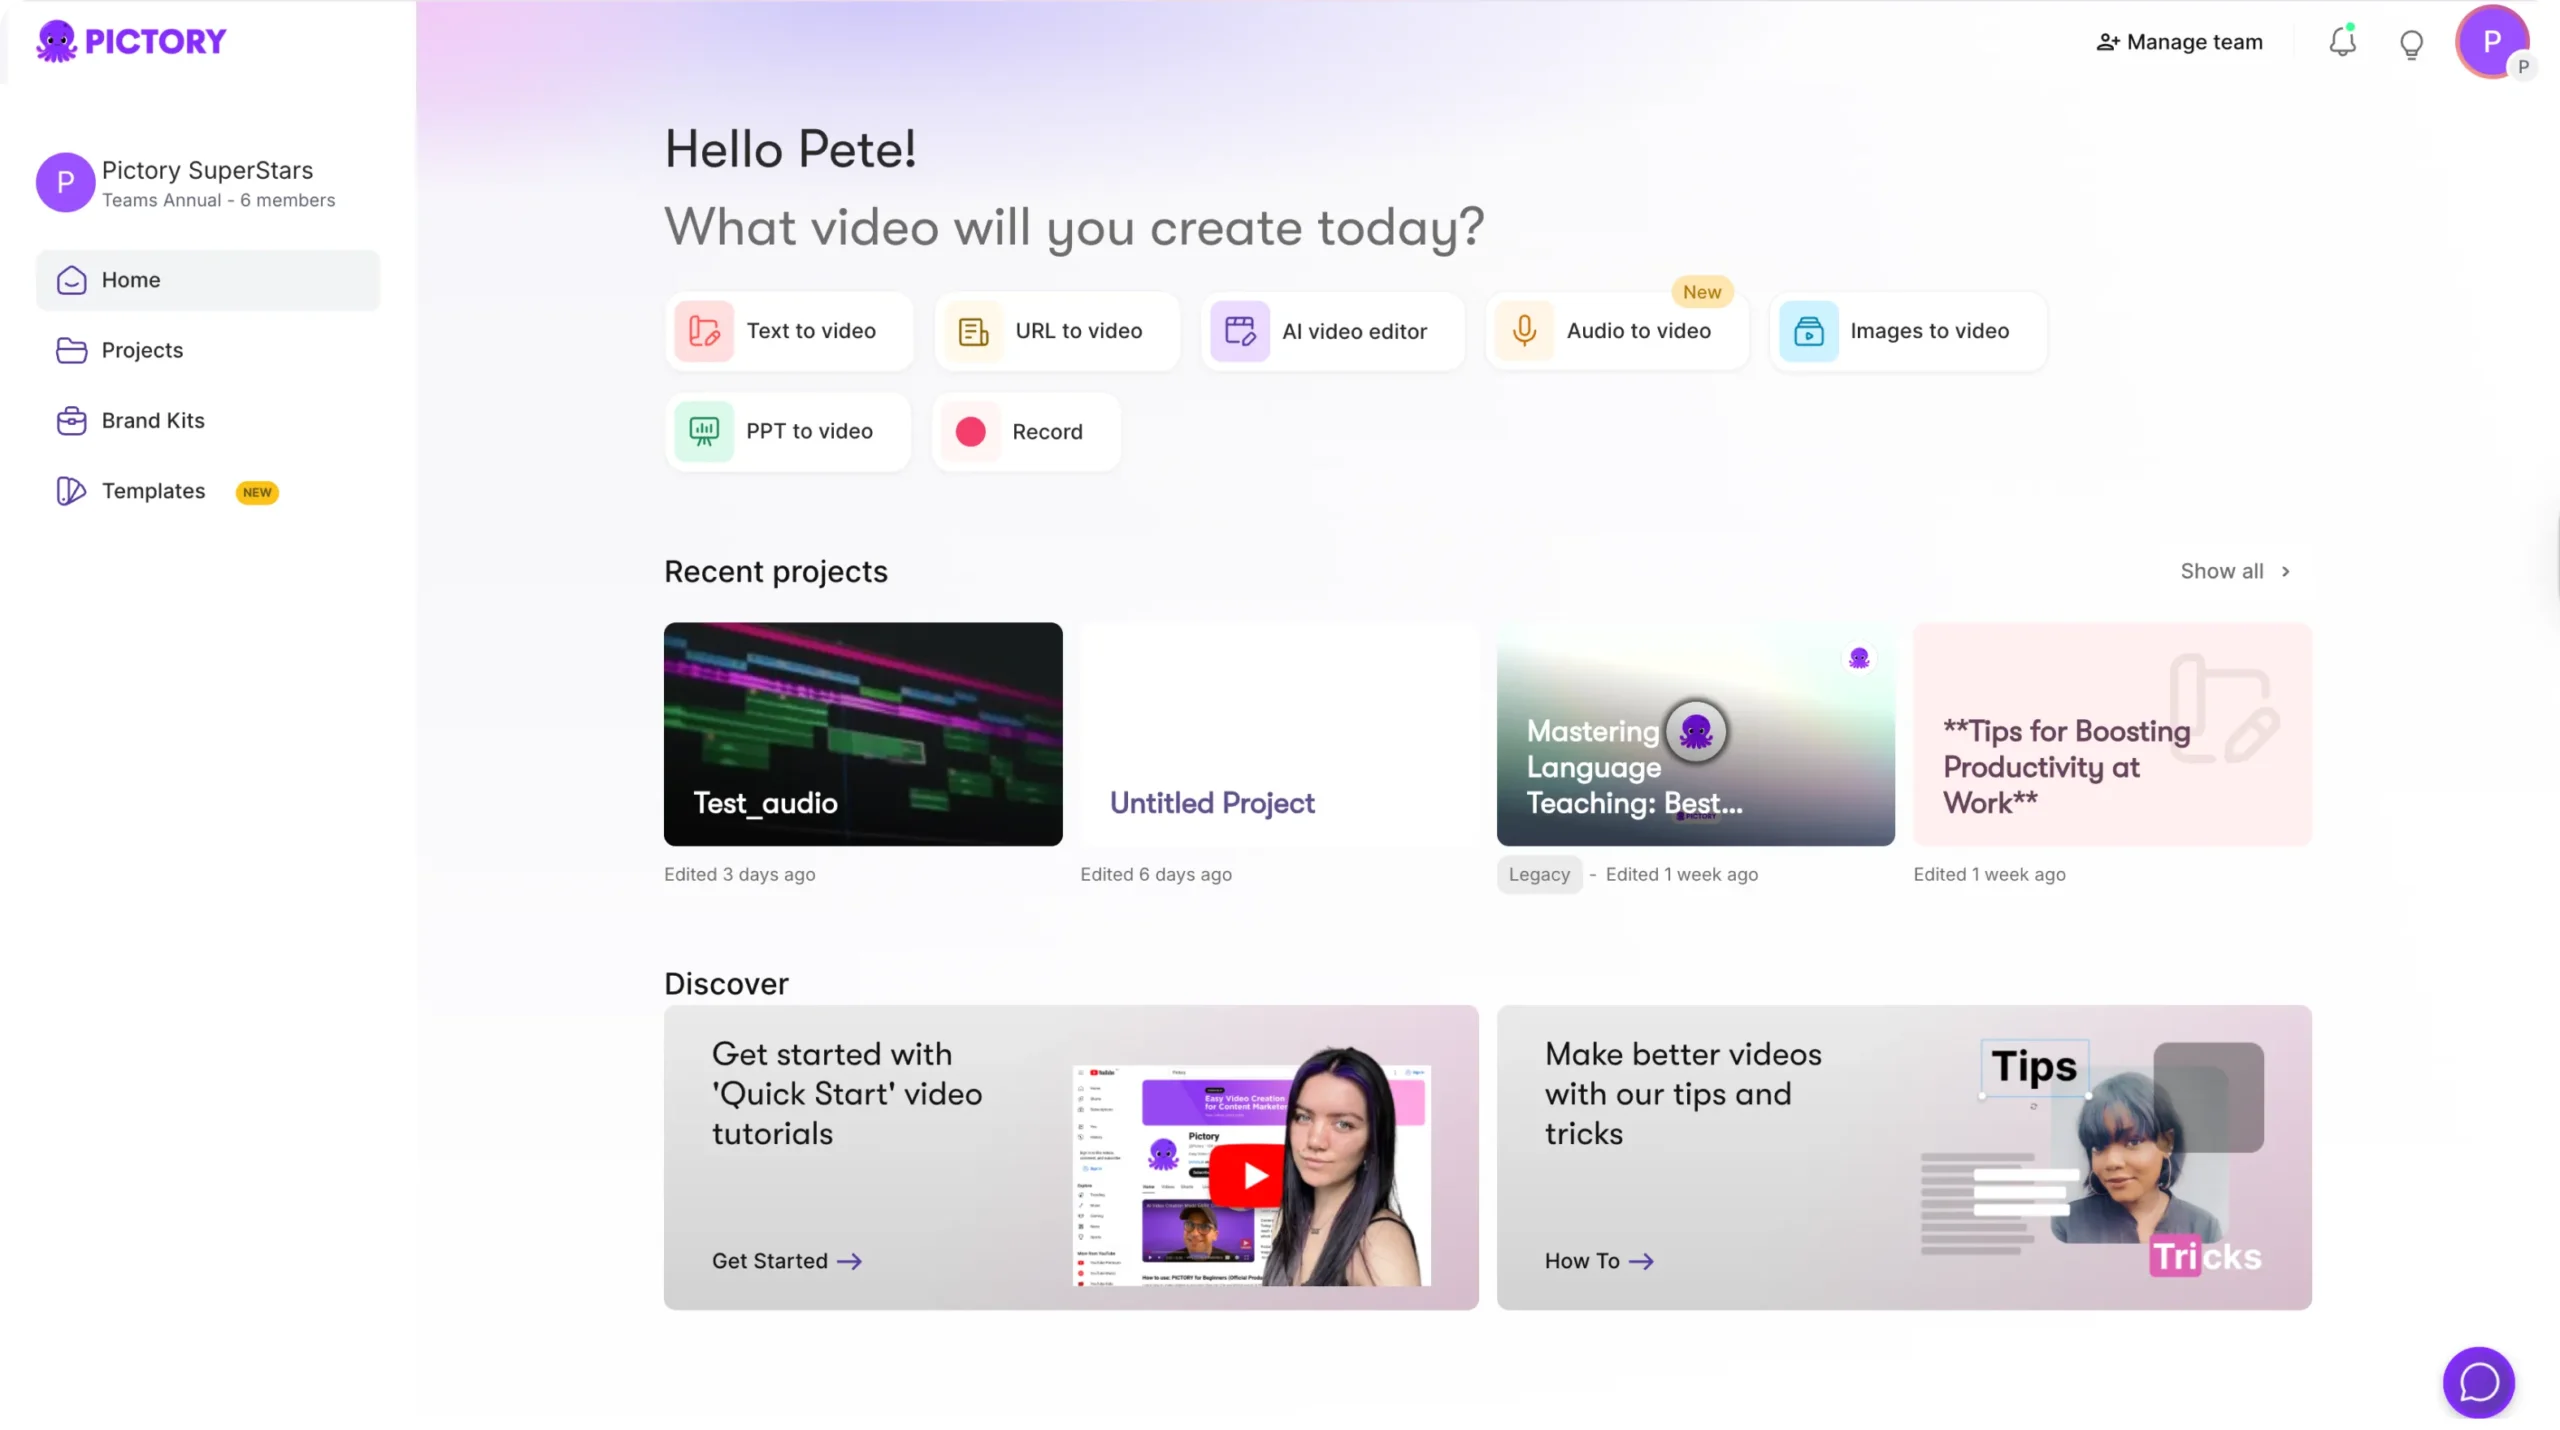
These workflows make it easy to start an explainer video from any source.
Step 2: Craft a Clear and Simple Script
Explainer videos need a simple, direct script. Pictory helps you refine your message inside the script editor.
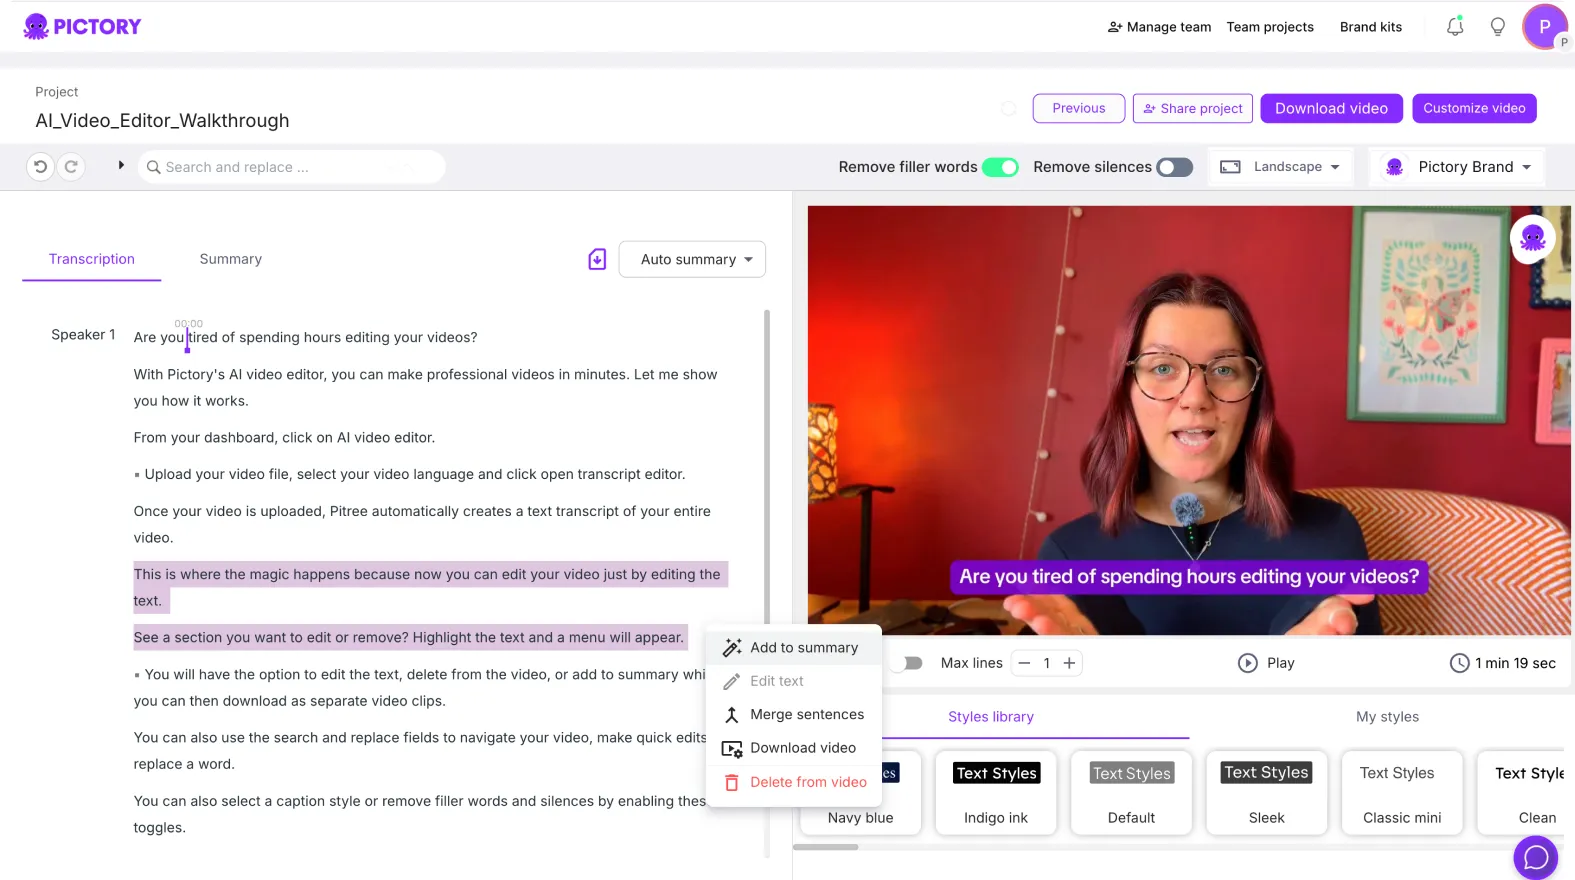
If you pasted or generated text, use Ask AI tools to optimize, shorten, rephrase, or adjust tone. If you uploaded a video or audio file, edit the transcript to remove filler words and highlight important points.

Keep your explainer script focused on:
• What the viewer needs to know
• Why it matters
• How it works
• What they should do next
A focused script creates a clear explainer video.
Step 3: Let Pictory Build Your Storyboard
Once your script is ready, click Generate Video. Pictory creates a scene based storyboard that breaks your explanation into logical parts.
You can refine your storyboard by:
• Replacing visuals with more relevant images or clips
• Adjusting text placement using Layouts
• Splitting scenes to improve pacing
• Reordering scenes if your explanation flows better in a different sequence
• Highlighting keywords for emphasis
This step shapes your explainer into a structured visual narrative.
Step 4: Add Narration and Captions
Explainer videos perform best with clear narration. Pictory gives you two options.
AI voiceovers Choose a natural sounding voice in the tone and language that fits your audience.
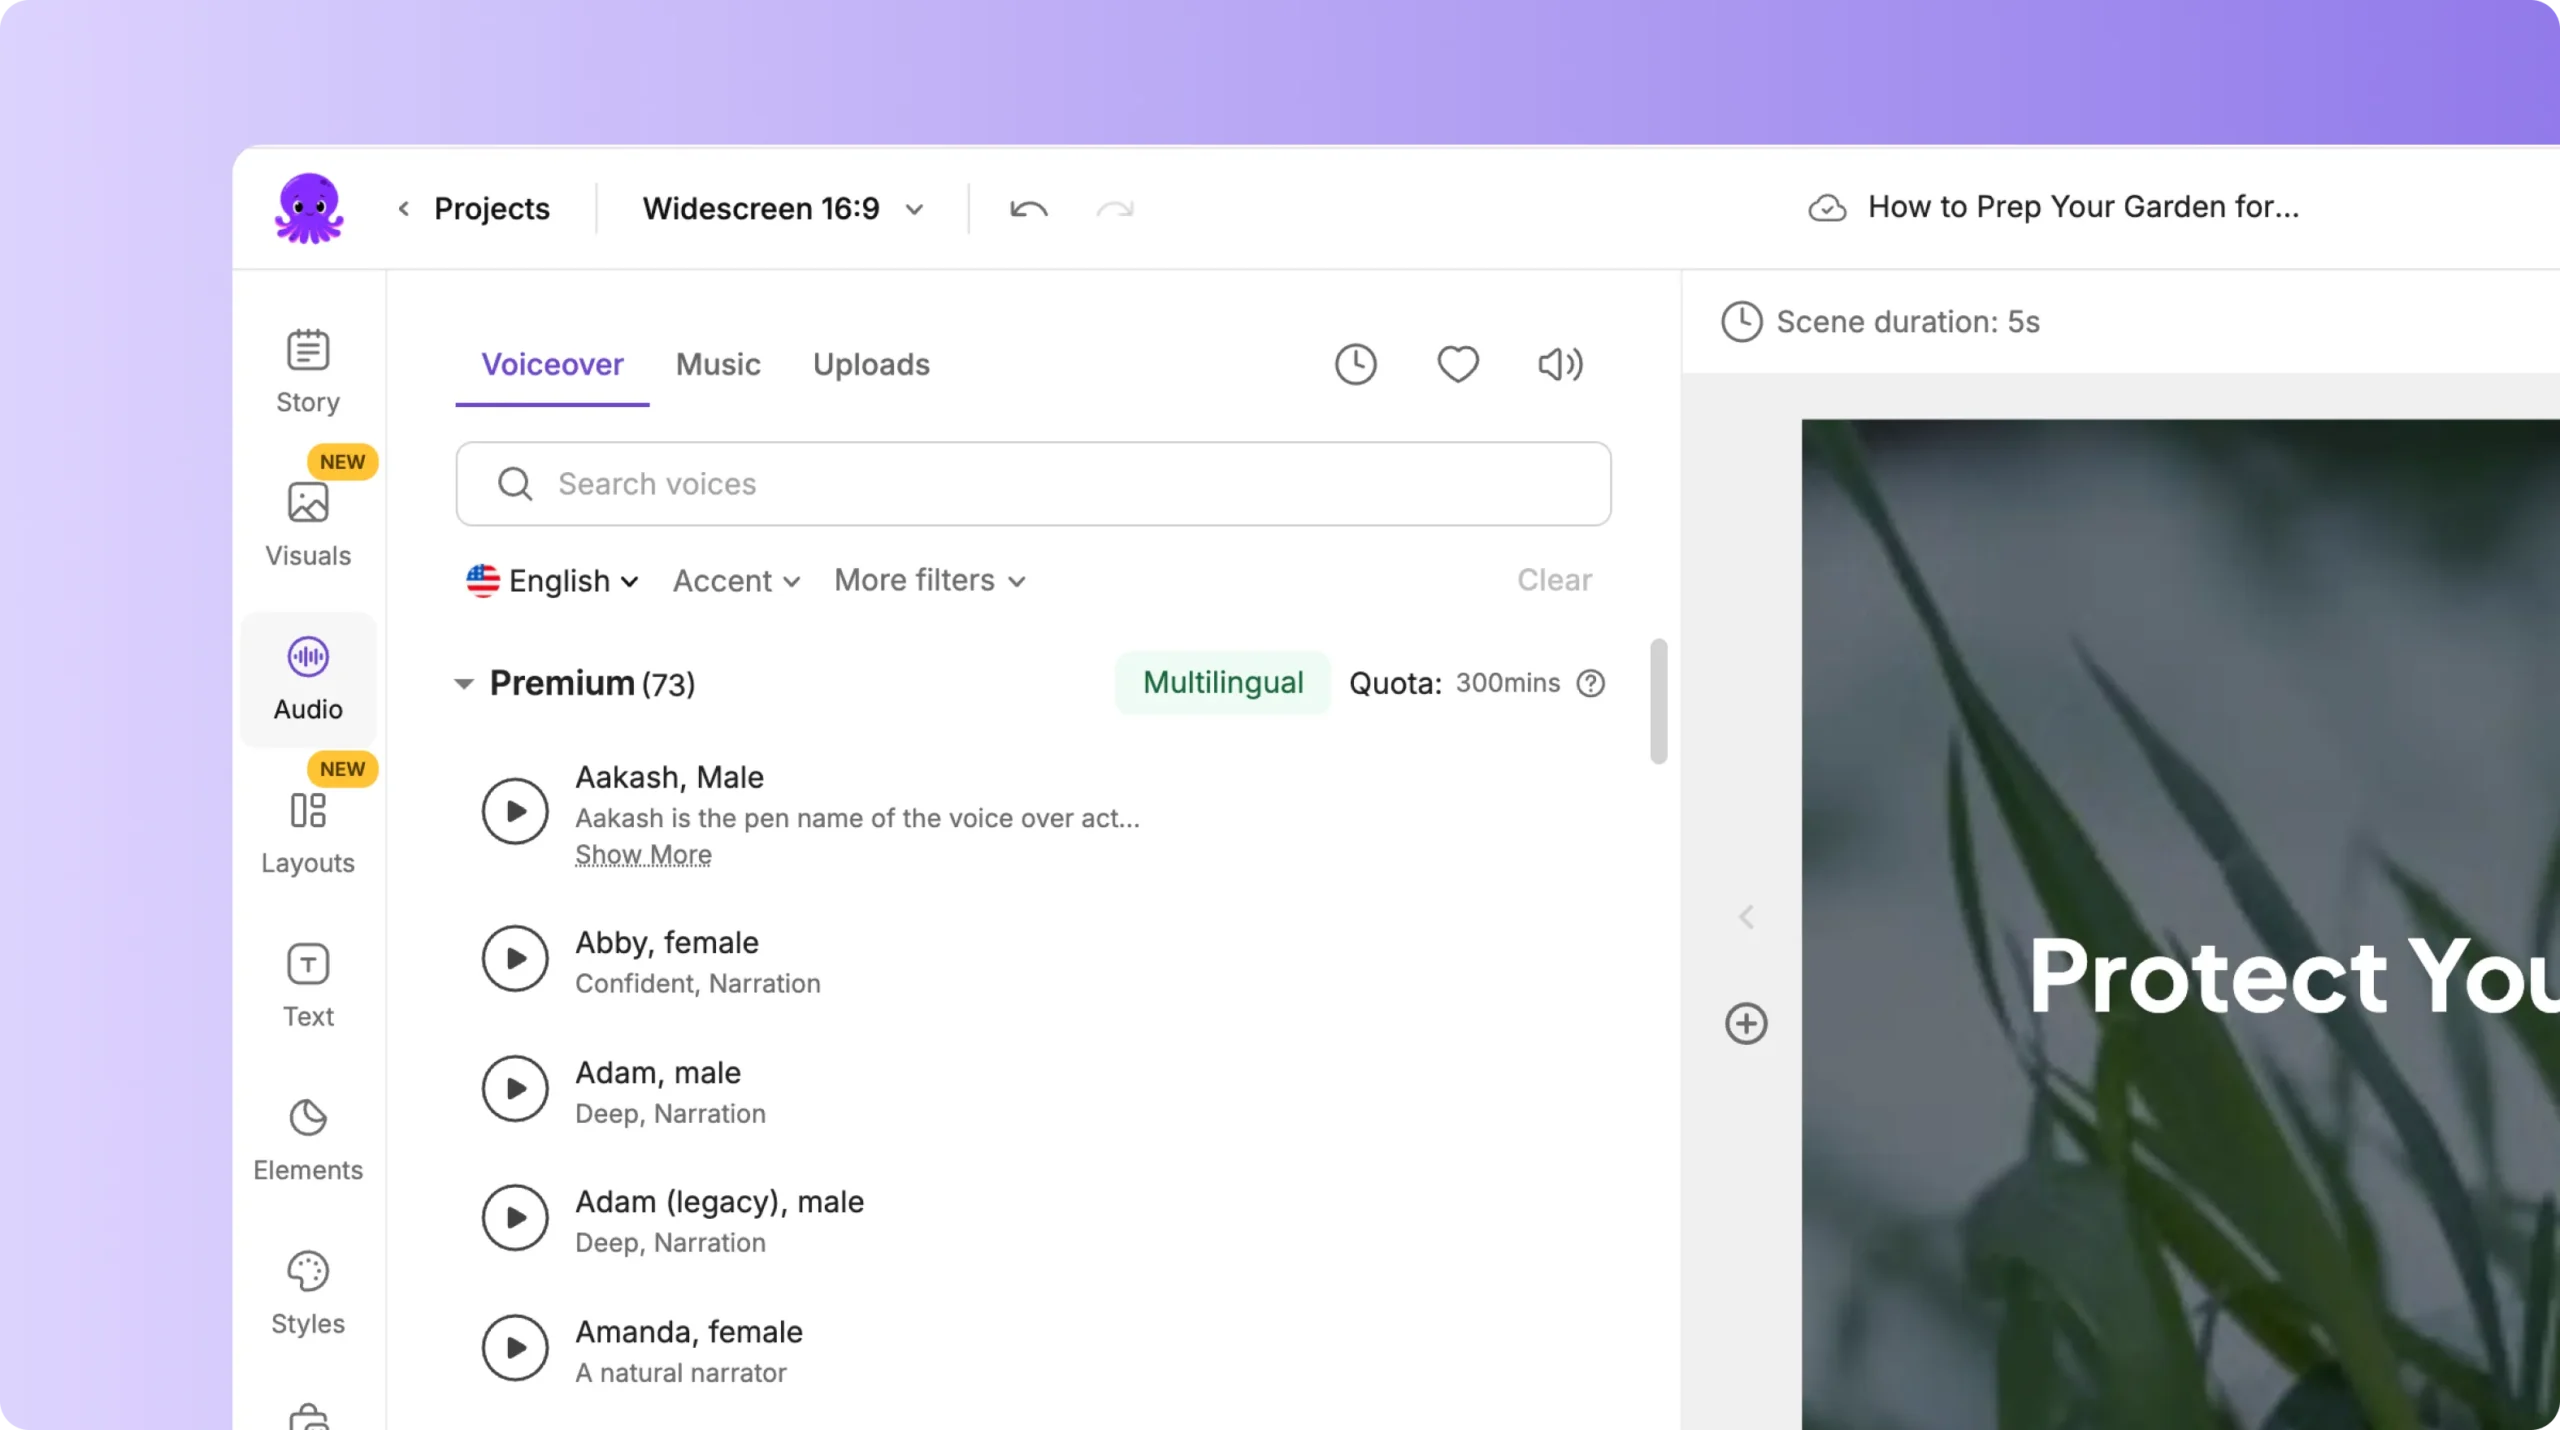
Uploaded voiceovers Record your own explanation and upload the audio file.
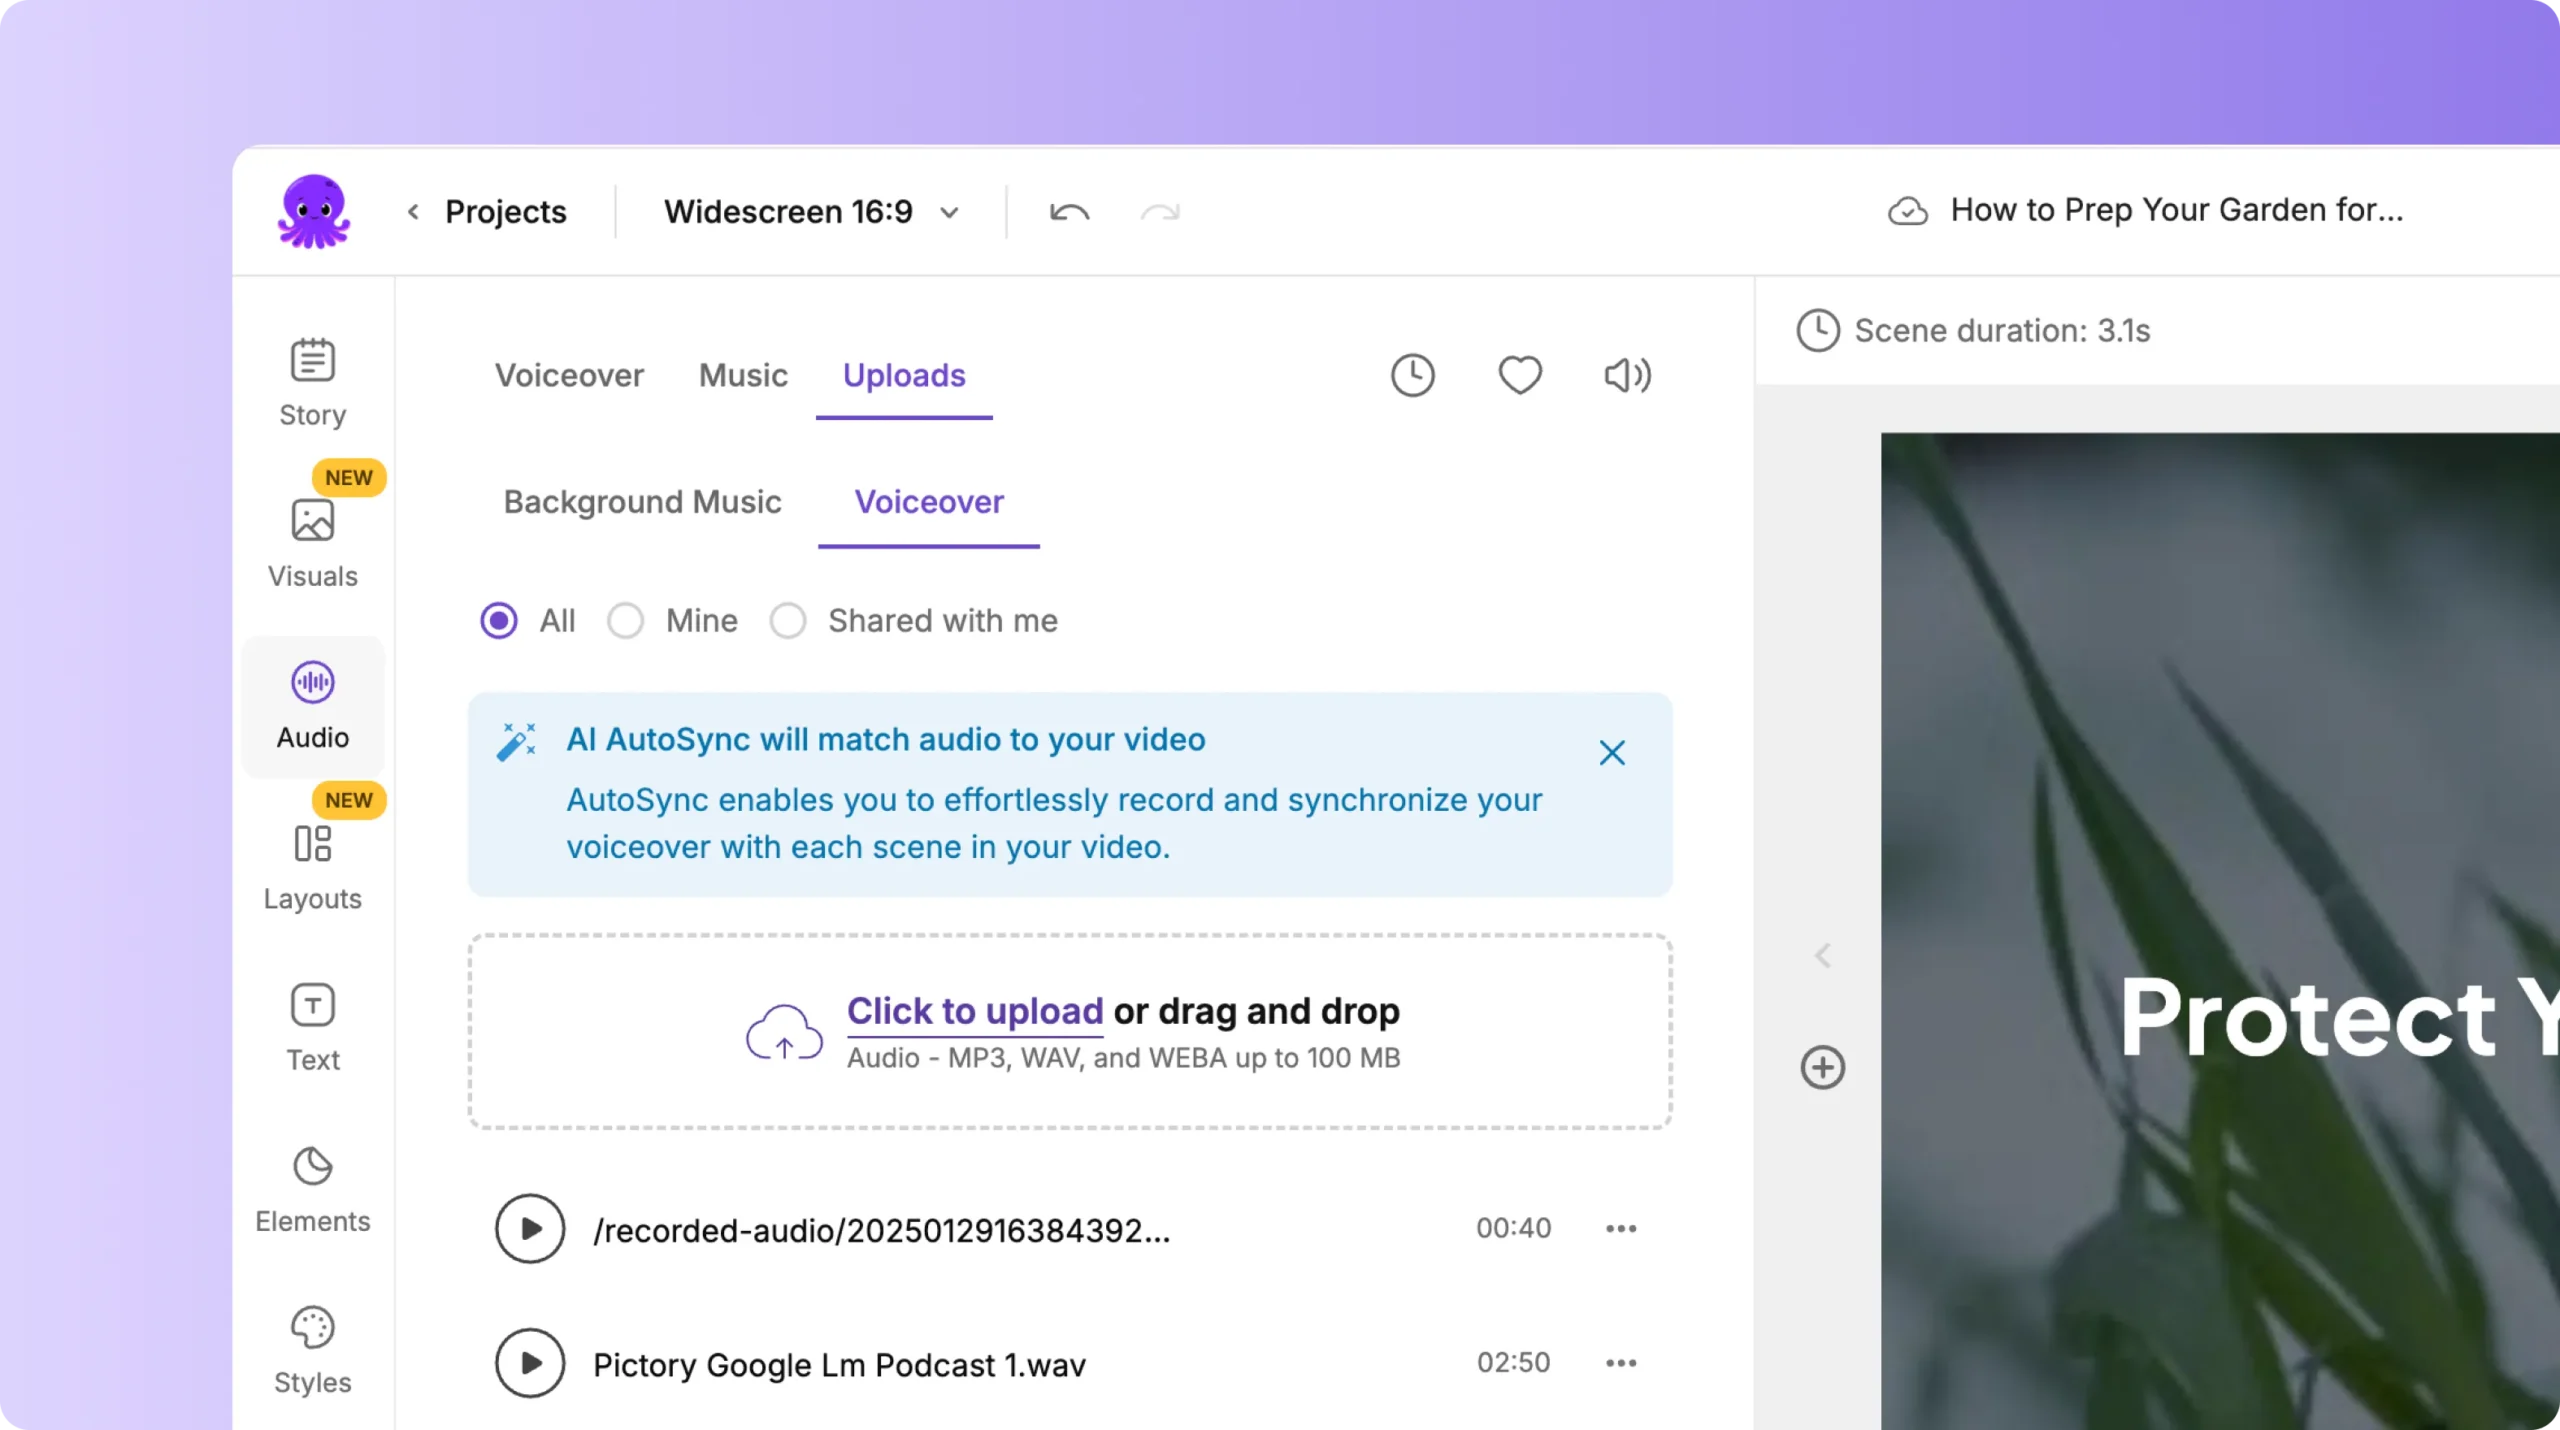
Use Auto Sync to match your narration to each scene.
Captions are created automatically and can be edited for accuracy. This helps viewers follow along and supports accessibility requirements.
Step 5: Strengthen Explanation With On Screen Text and Elements
Explainer videos need strong visual support. Use Pictory’s tools to help viewers understand each part of your message.
Inside the editor, you can:
• Add headings, labels, and callouts using the Text tab
• Use arrows, shapes, or icons from the Elements tab to highlight details
• Animate text using the Animate Text option to draw attention to key points
• Add diagrams or illustrations using the Visuals tab
• Use Layouts for lists, steps, and summaries
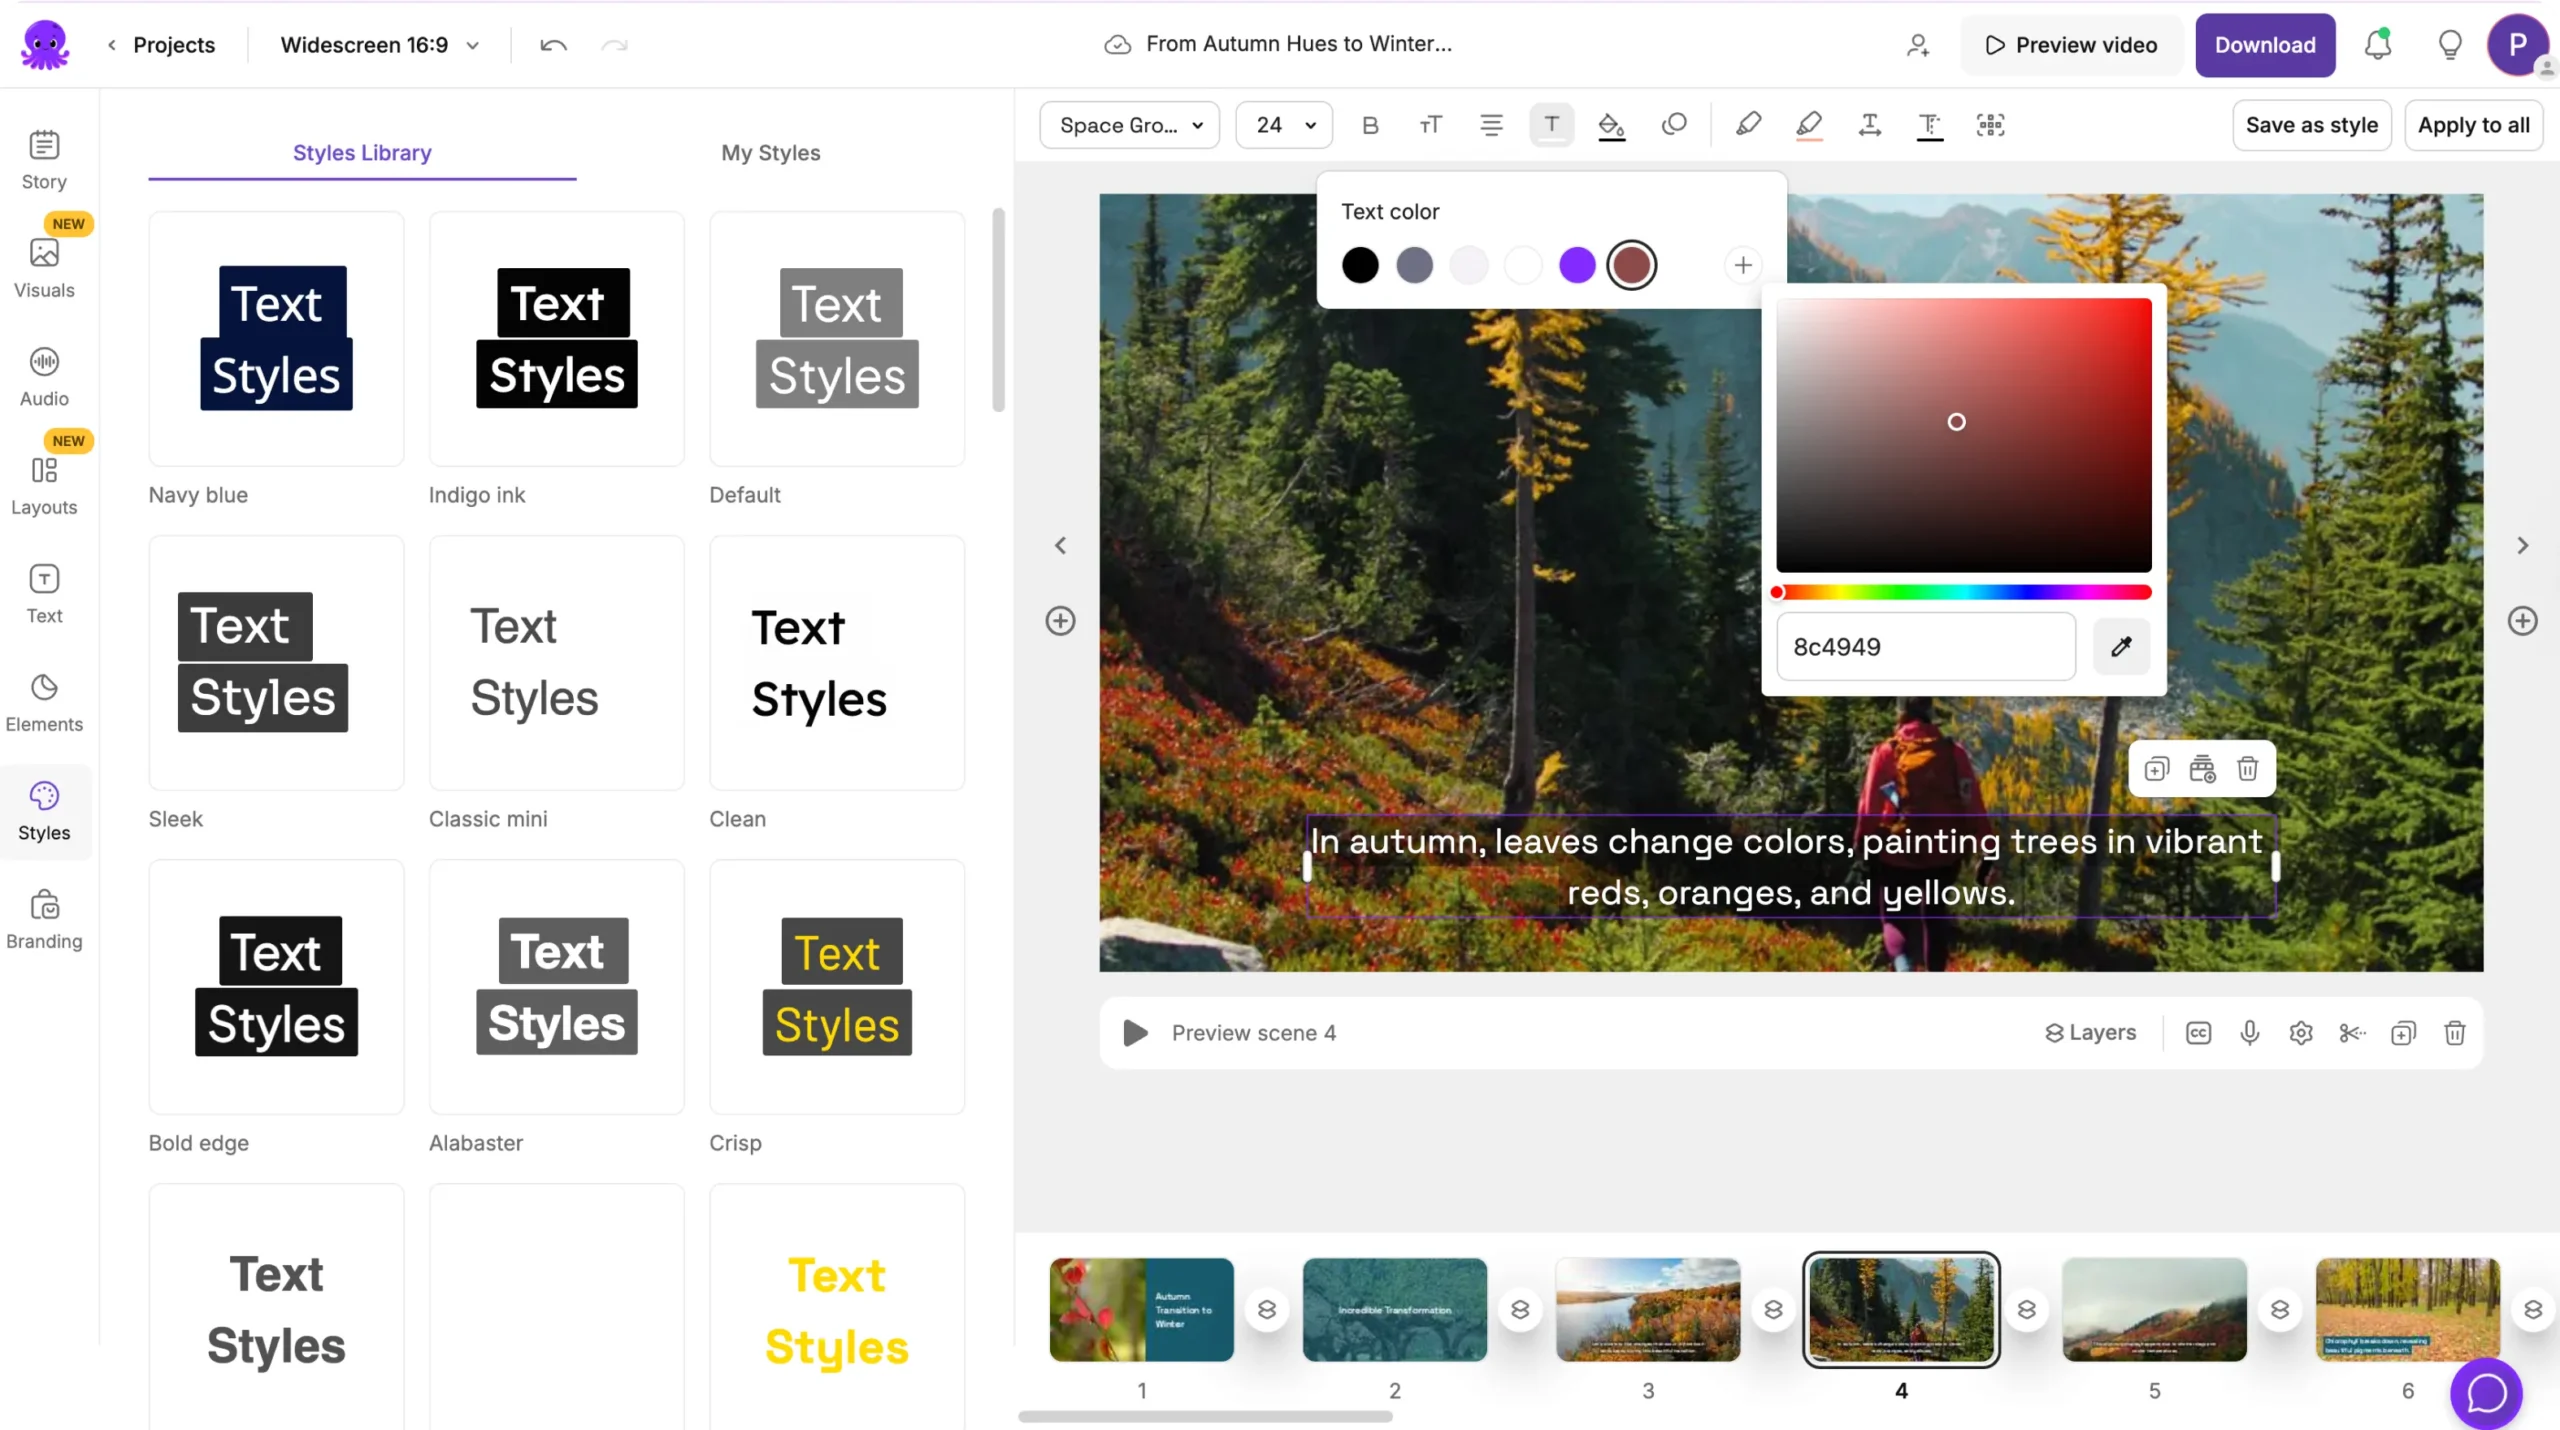
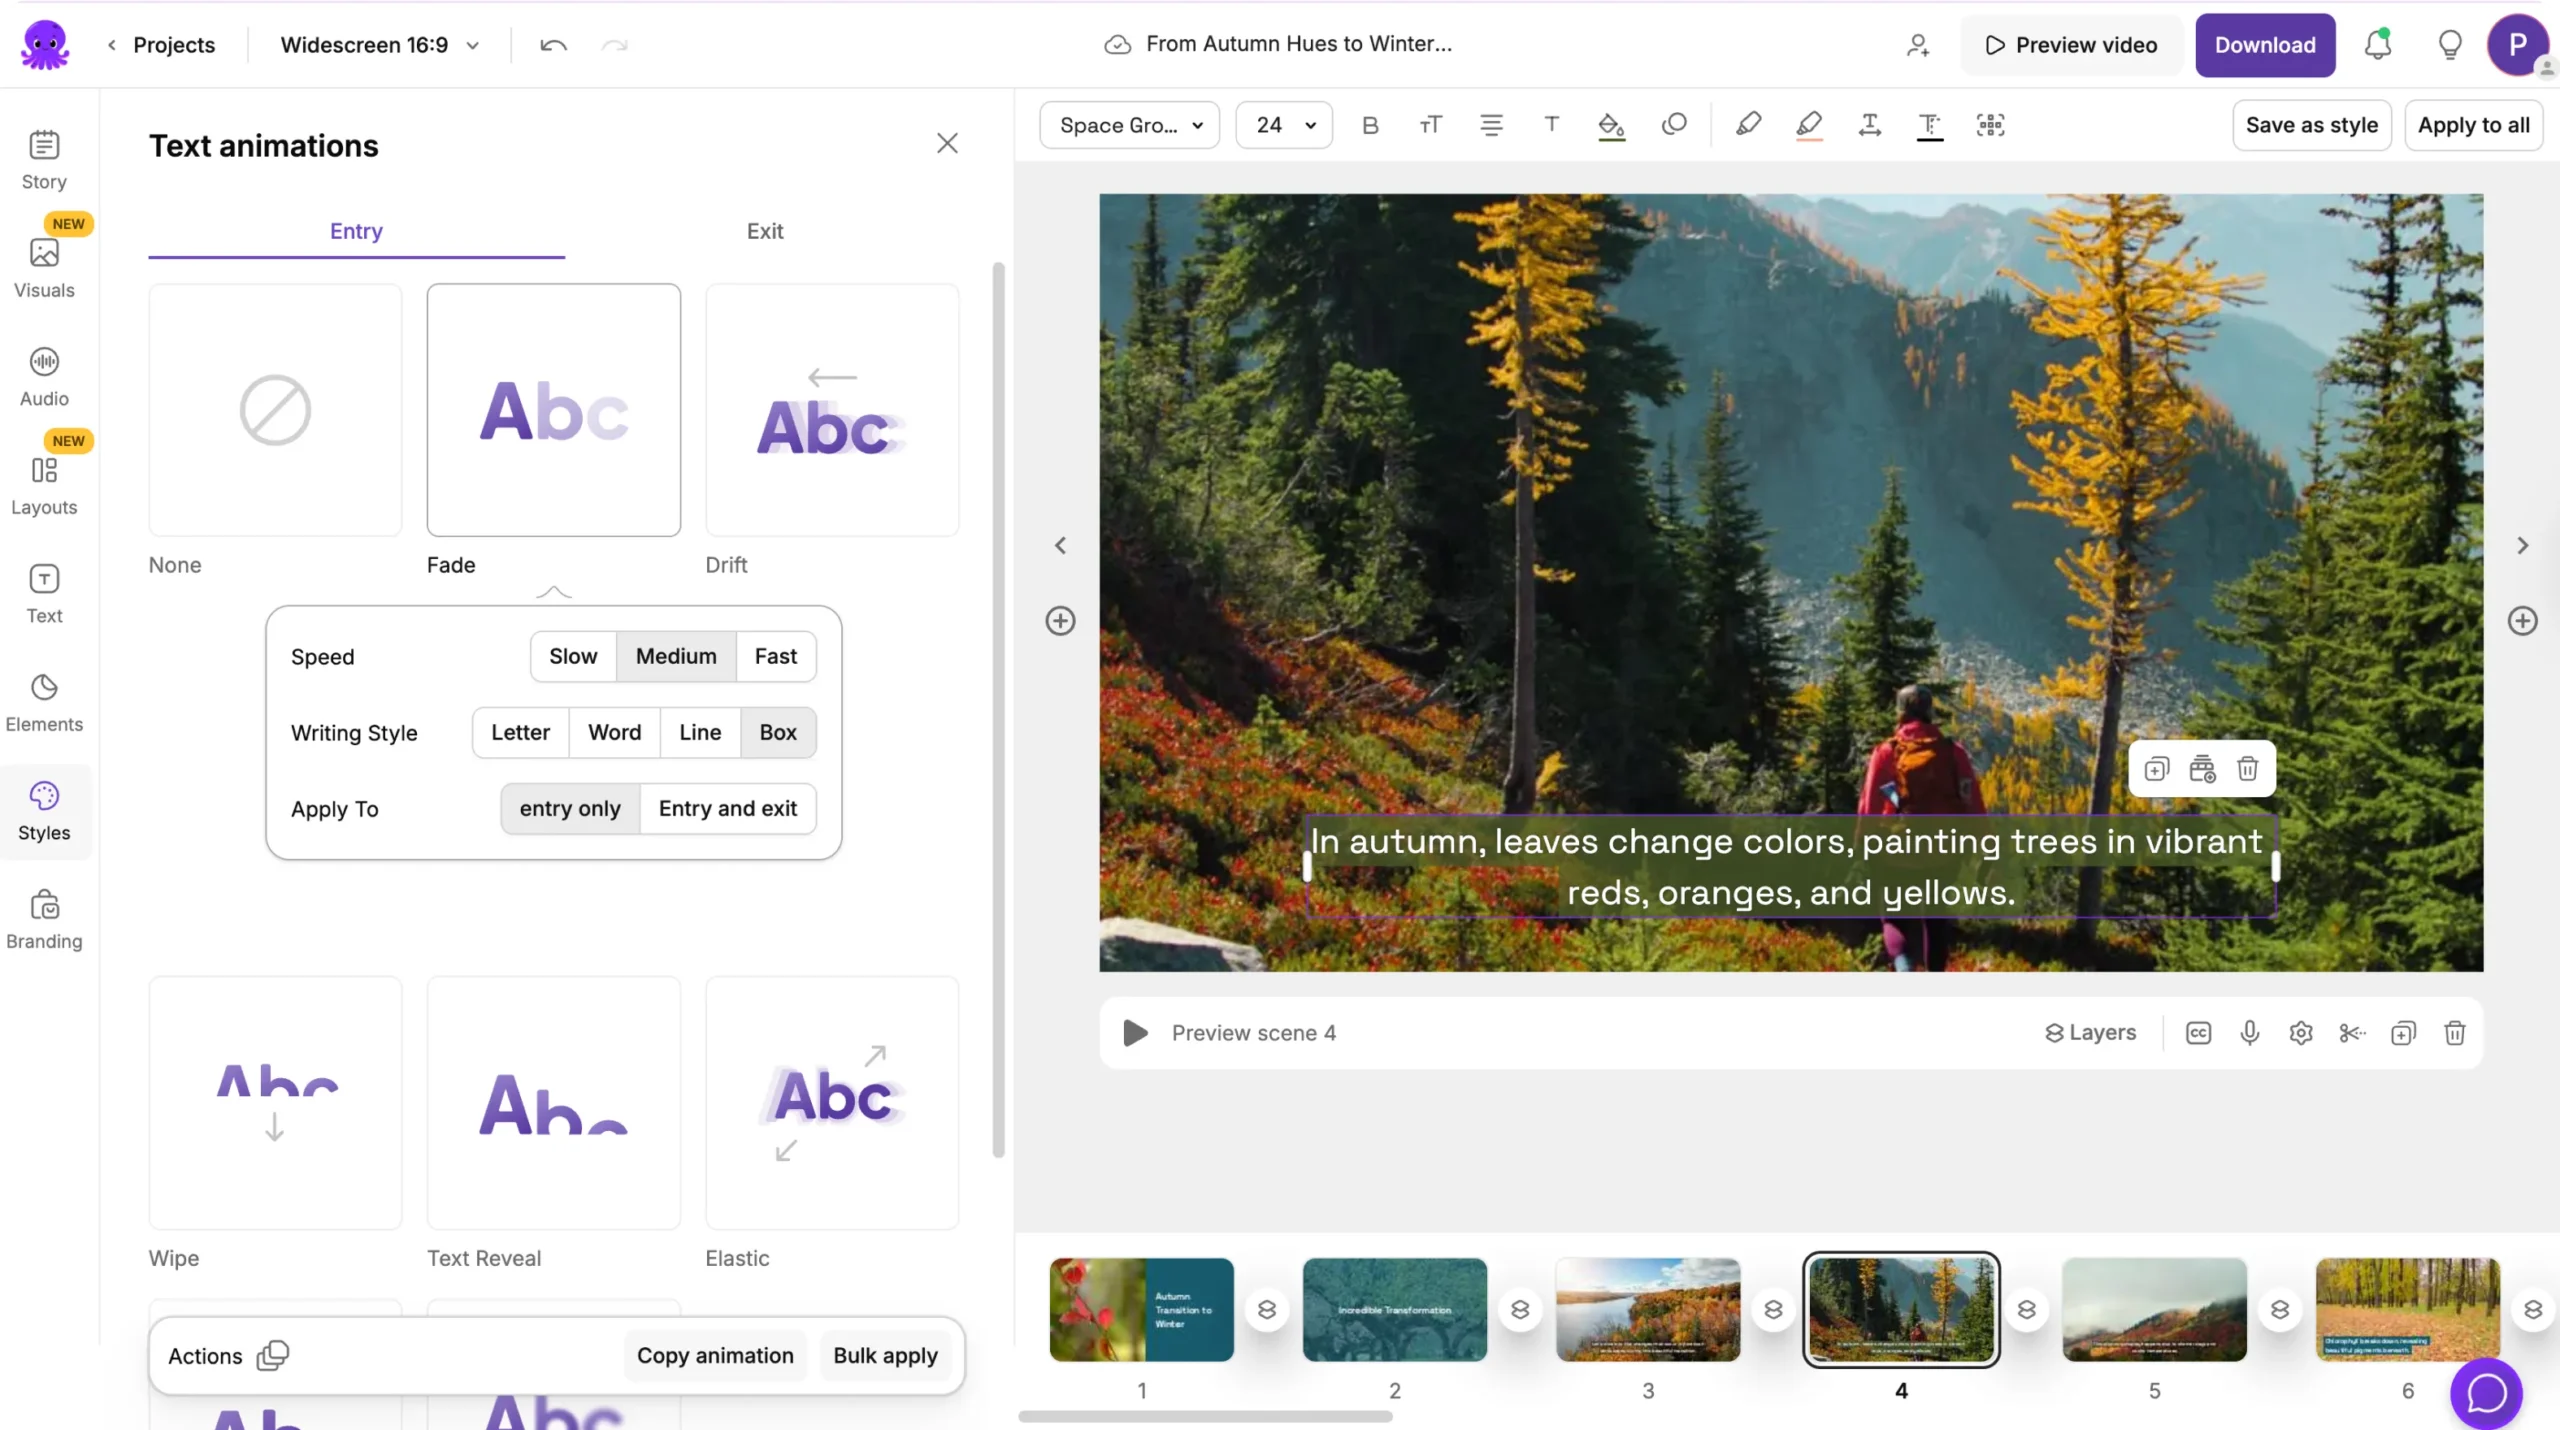
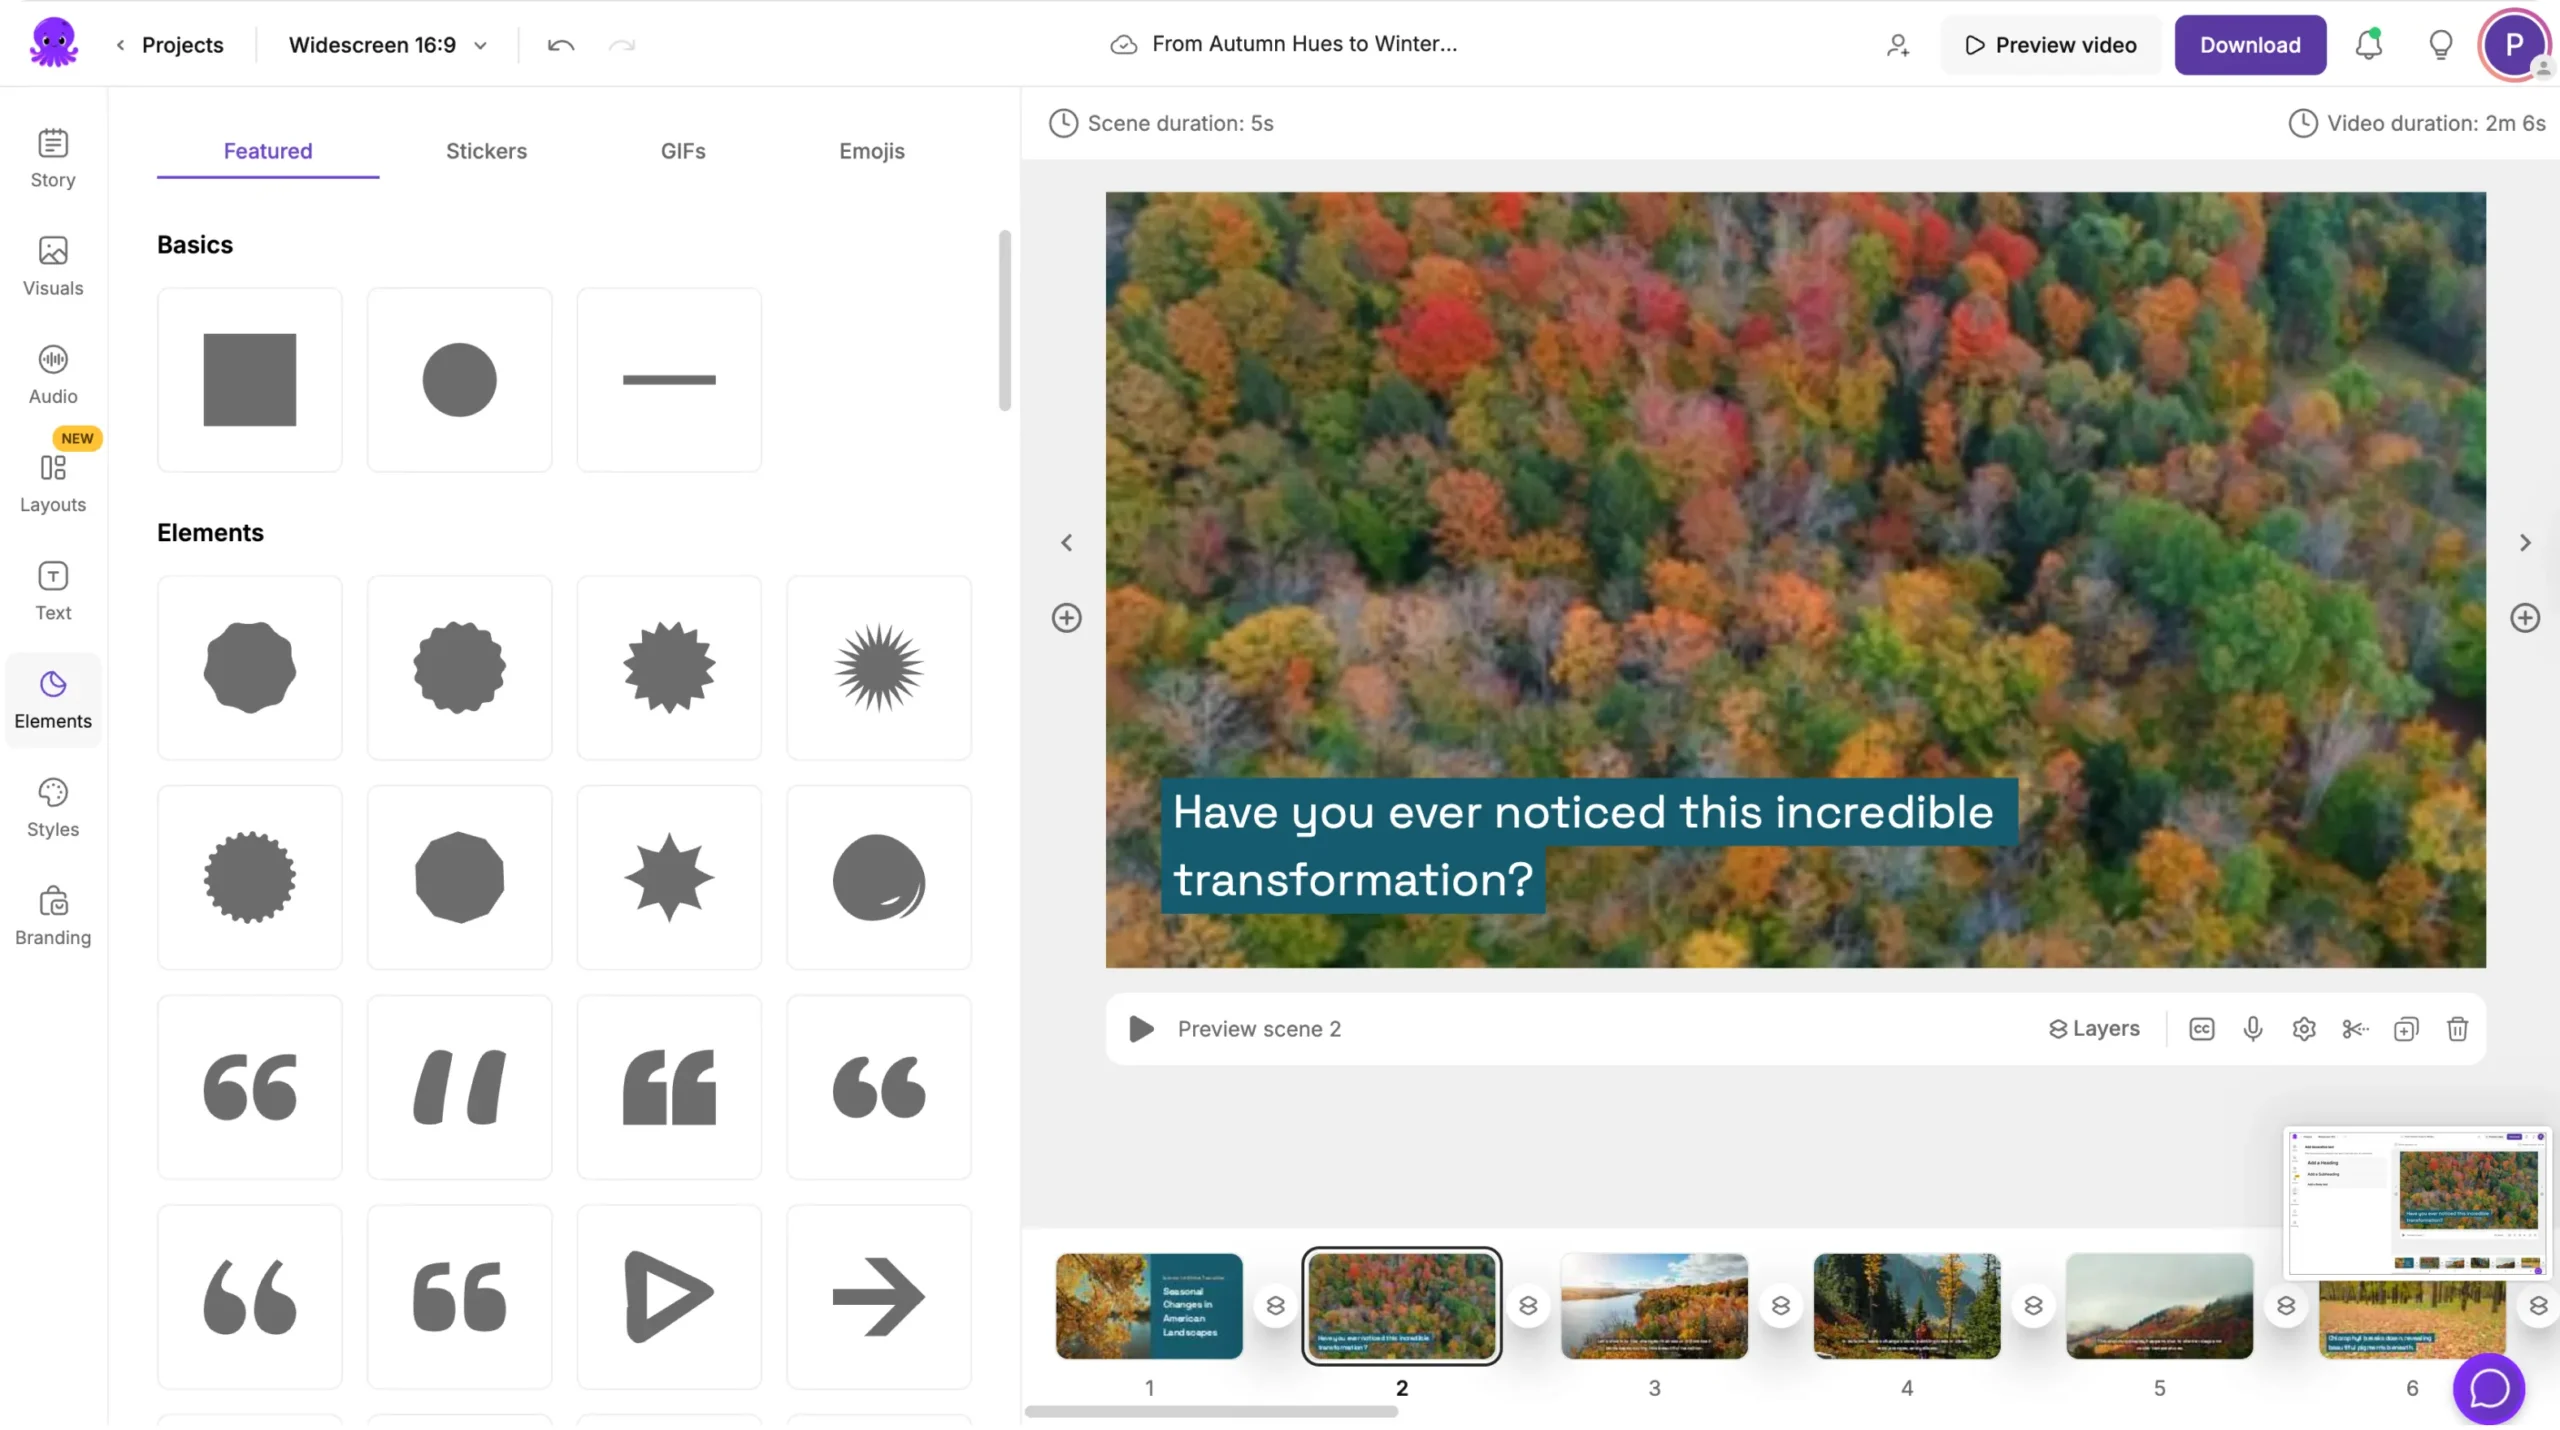
These additions make your explainer more instructional and easier to follow.
Step 6: Apply Branding for Professional Consistency
If you are creating explainers for a brand, course, or product, use Brand Kits to keep your visuals consistent.
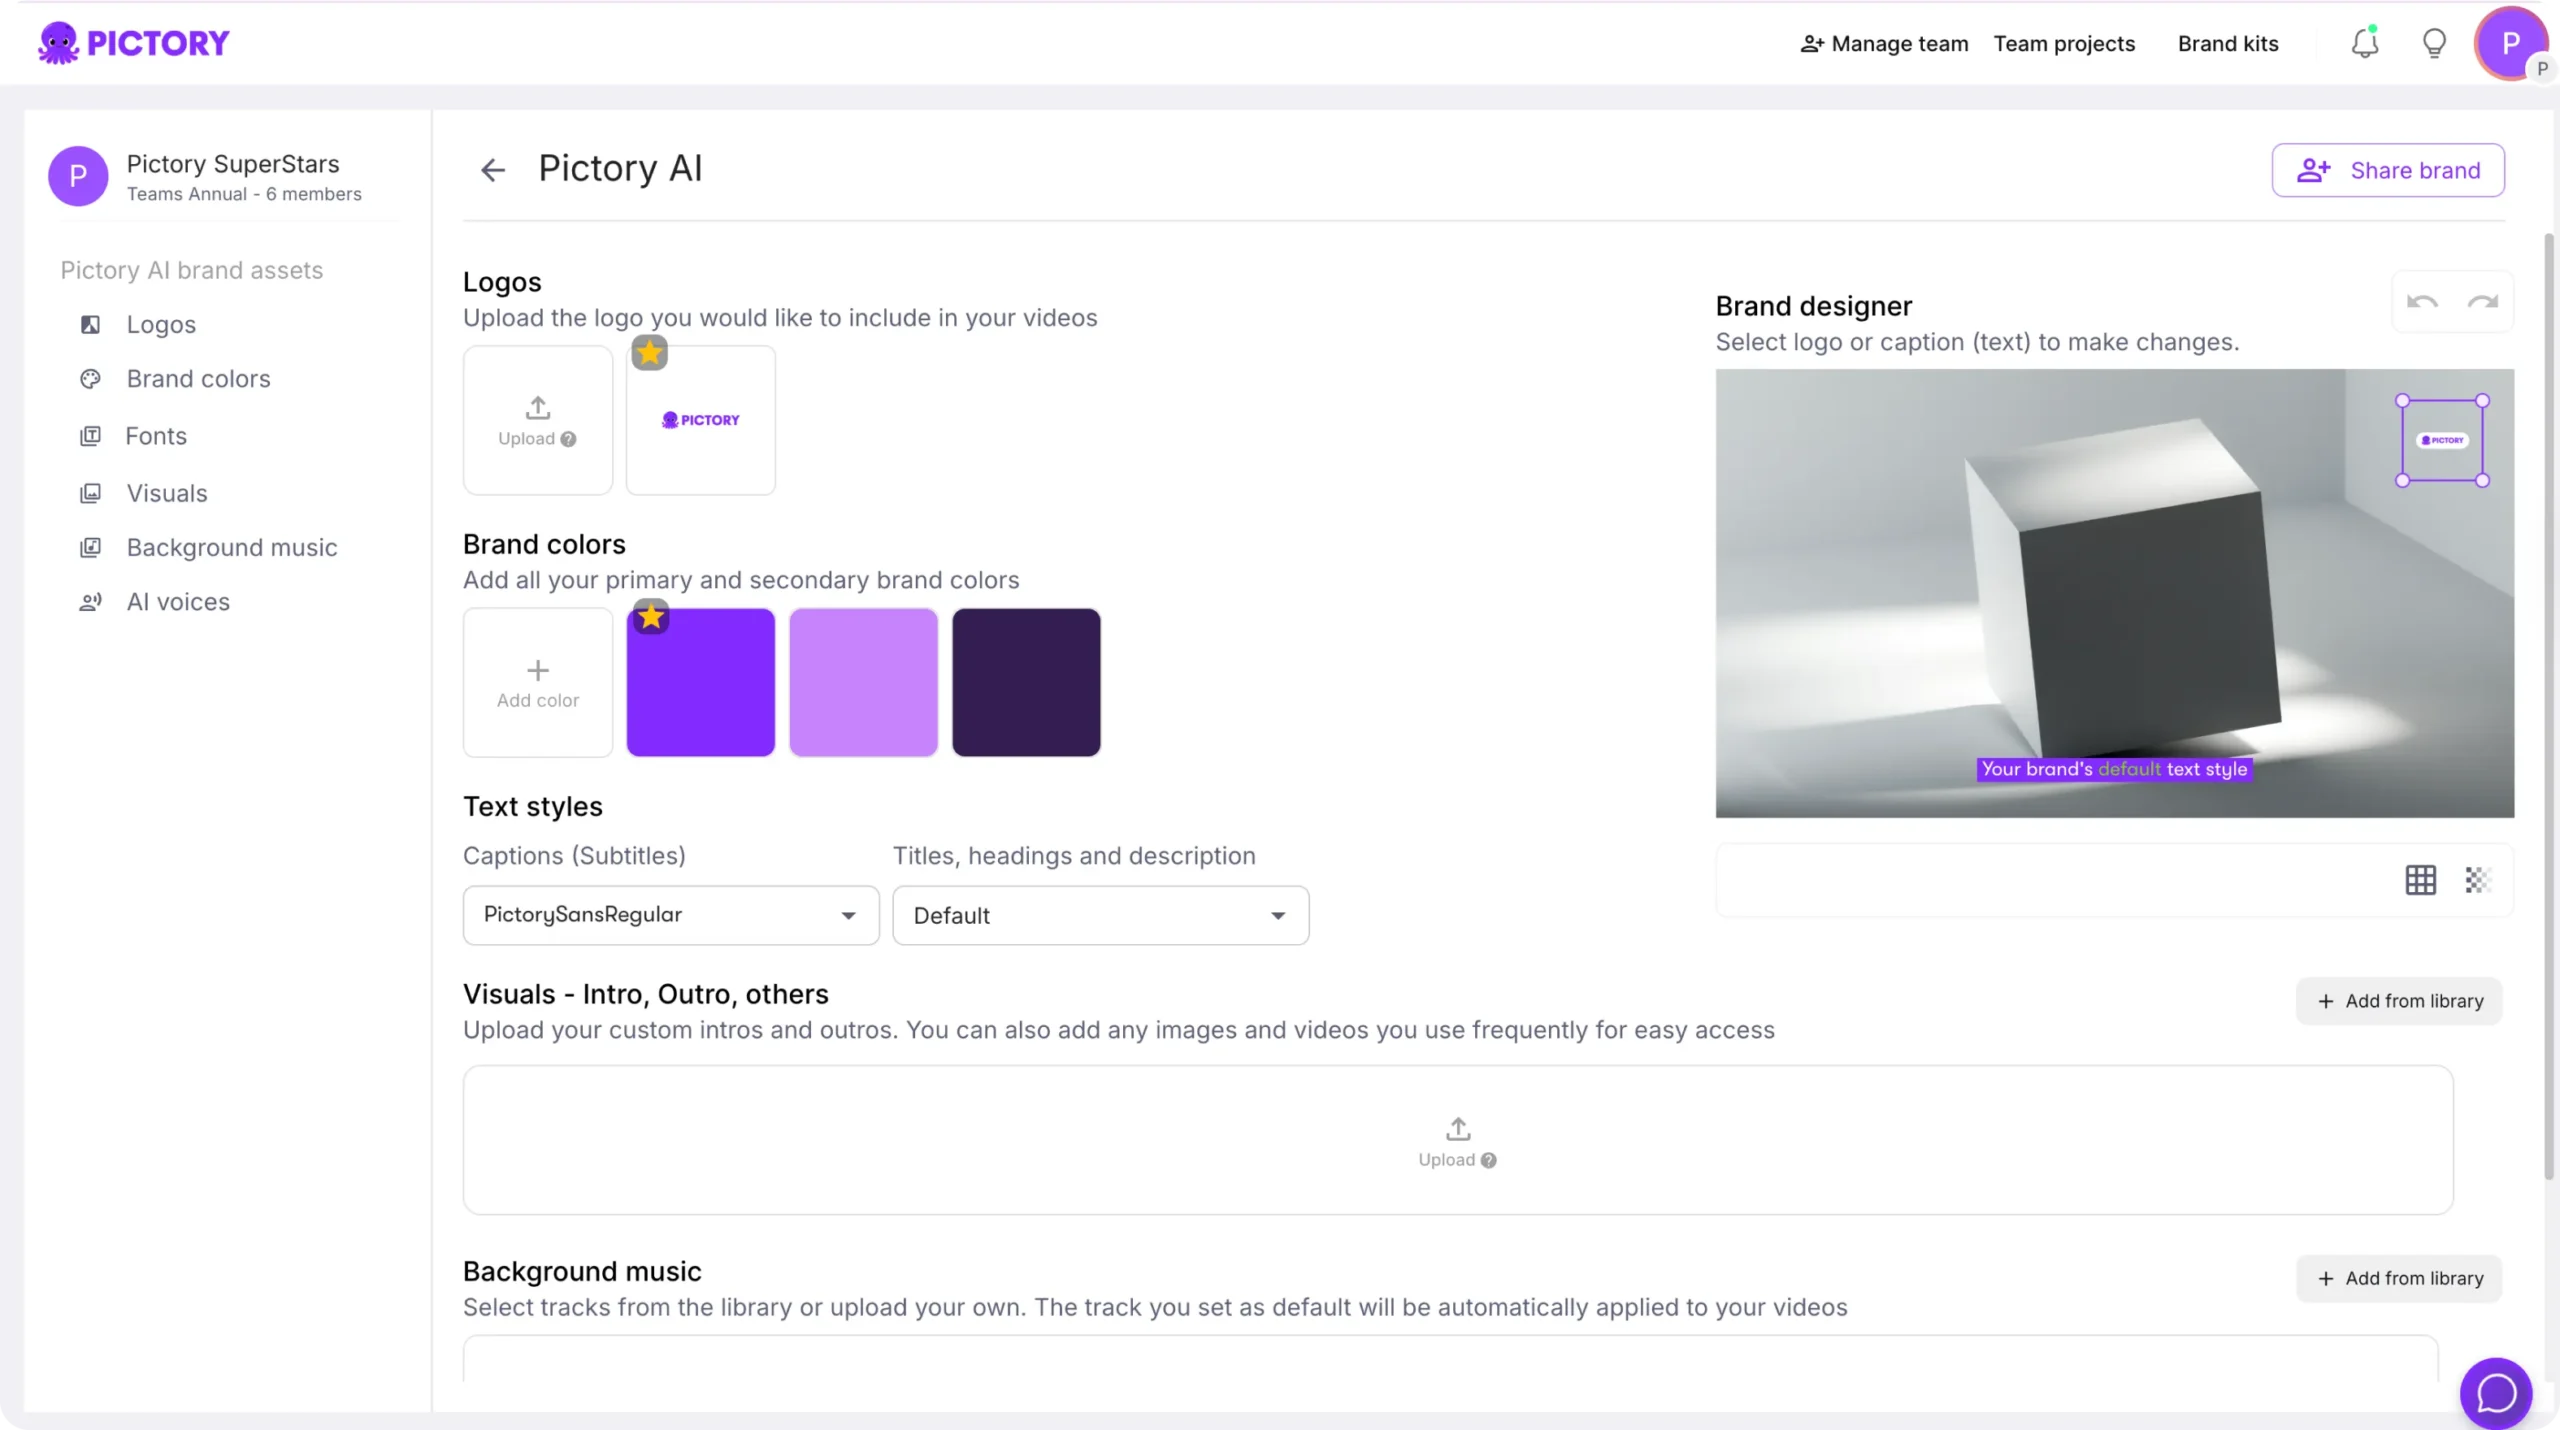
Your Brand Kit stores your logo, colors, and fonts. Apply it from the Branding tab to ensure every explainer video uses the same design elements. This improves professionalism and recognition across your content.
Step 7: Preview, Export, and Publish
Once your explainer video is complete:
- Click Preview Video to review narration, pacing, and visual clarity.
- Make any final adjustments.
- Click Download Video to export.
- Choose your aspect ratio based on your platform.
• 16:9 for YouTube, websites, and presentations
• 1:1 for social feeds
• 9:16 for TikTok and Reels
Your finished explainer video is stored in My Projects for updates or reuse in future training or marketing materials.
Create Clear, Engaging Explainer Videos With Pictory AI
With Pictory AI, you can turn complex topics into simple visual stories that make sense to your audience. Whether you start with text, slides, recordings, or screen demos, Pictory helps you create polished explainers quickly and consistently.
Start creating your next explainer video today with Pictory AI.

