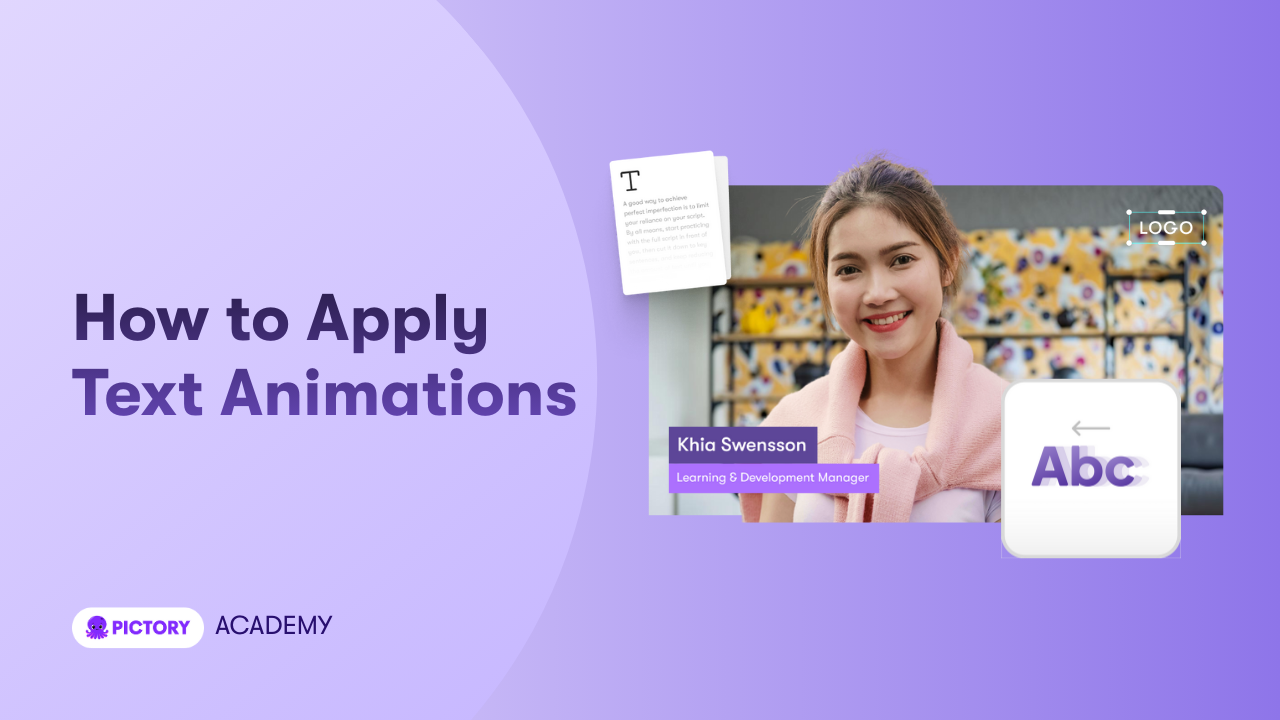
Text animations help your video feel more dynamic and polished. They draw attention to important information, improve viewer engagement, and make your content feel more professional. Pictory AI makes it easy to add smooth entry and exit animations to any on screen text.
This guide shows you how to apply text animations inside Pictory AI.
What Text Animations Do
Text animations control how your text appears and disappears on screen. They help you direct attention and improve the flow of your content. You can animate any text added through the Text tab, including:
• Headings
• Subheadings
• Body text
• Labels and notes
• Callout text
Animations can be subtle or bold, depending on your style and your message.
Step 1: Open the Text Tab and Select a Scene
Start by selecting the scene that contains the text you want to animate. Open the Text tab on the left side of the editor. Click the text element you want to animate. A formatting toolbar appears above the preview panel.

Step 2: Open the Animation Options
With your text selected, click the Animate Text icon in the toolbar. This opens the animation panel where you can choose different animation styles.
You can choose from a variety of animations such as:
• Fade
• Slide
• Wipe
• Bounce
• Typewriter
• Pop
Each option gives your text a different movement style.
Step 3: Choose an Entry Animation
Entry animations control how the text appears at the start of the scene. Click an entry animation to apply it instantly. Your preview updates so you can see how the effect looks.
Choose an animation that matches your video style. For a professional look, choose a simple fade or slide. For playful or energetic content, try bounce or pop animations.
Step 4: Choose an Exit Animation
Exit animations control how your text leaves the screen. Choose an exit animation that feels natural and matches your entry animation.
For example:
• Fade in with fade out
• Slide in with slide out
• Typewriter in with fade out
Matching entry and exit effects helps your video feel smooth and consistent.
Step 5: Adjust Animation Speed
Use the speed slider to control how fast the animation happens. A slower speed works well for training and corporate videos. A faster speed works well for social media content.
Adjust the speed until your text feels clear and easy to follow.
Step 6: Preview the Animation in the Scene
Click the play button on your scene to preview your animation. Watch to see if:
• The text enters at the right time
• The animation reinforces your message
• The exit animation does not feel too fast
• The movement does not distract from the visuals
Make changes if necessary.
Step 7: Apply Animations to Multiple Text Layers
If your scene has multiple text elements, you can animate each one separately.
This helps you control:
• The order text appears
• The pacing of information
• The focus of each message
For example, you can animate a heading first, followed by a subheading.
Step 8: Preview the Entire Video
When your animations are applied:
Click Preview Video
Watch your video from start to finish
Ensure the animations match your style
Check that no animations overlap or distract
Continue editing if needed
Smooth animations improve your viewer's experience.
Apply Dynamic, Professional Text Animations in Pictory AI
Text animations help your message stand out and keep your viewers engaged. With Pictory AI’s easy controls, you can choose entry and exit effects, adjust speed, and animate multiple elements to create a polished, high quality video.
Start enhancing your scenes today by applying text animations in Pictory AI.