

How to Turn an Audio Recording Into a Video With Pictory 3
Turn a voice recording, interview, or talk into a captioned video. You choose whether the recording becomes the voiceover or the source for a new script.
Which audio files can you use?
Pictory 3 accepts MP3, WAV, M4A, AAC, and WEBM audio. A recording must be the only attached source, and you can't add a new recording midway through chat. Upload one recording per video.
Step by step: turn audio into a video
Step 1: Add your recording
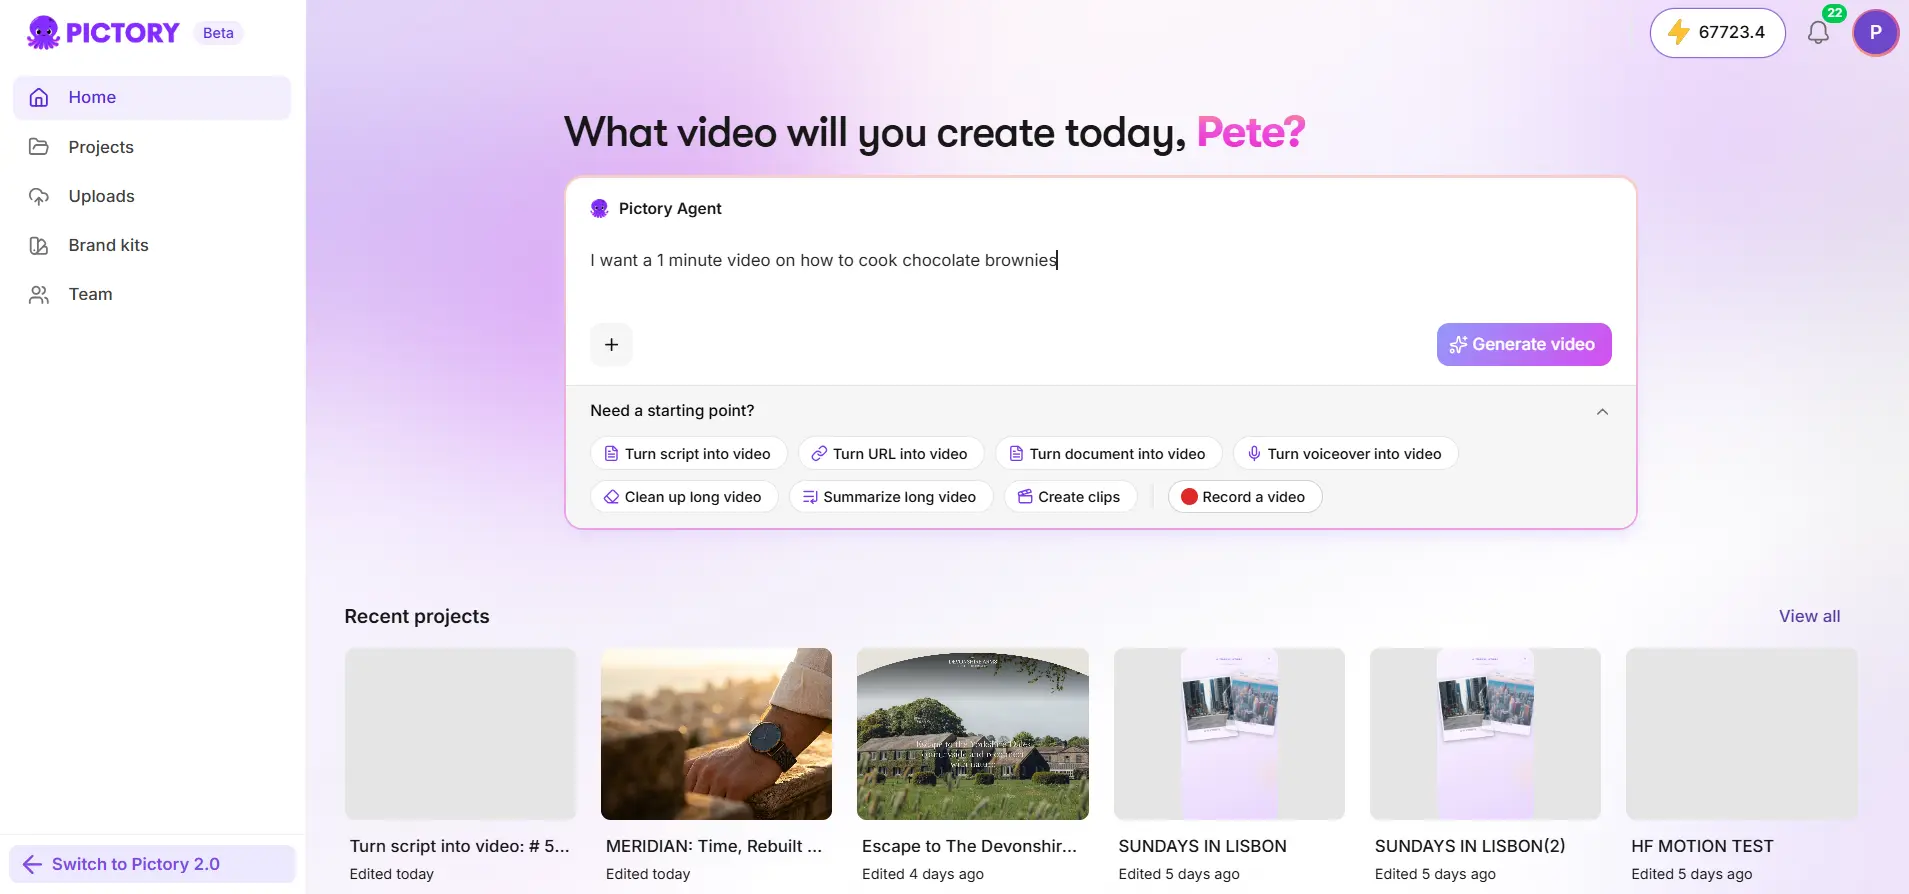
Choose Add audio recording on the home page and upload your audio file.
Step 2: Wait for transcription
Pictory transcribes the recording, then asks whether to use it as the voiceover.
Step 3: Choose how to use the recording
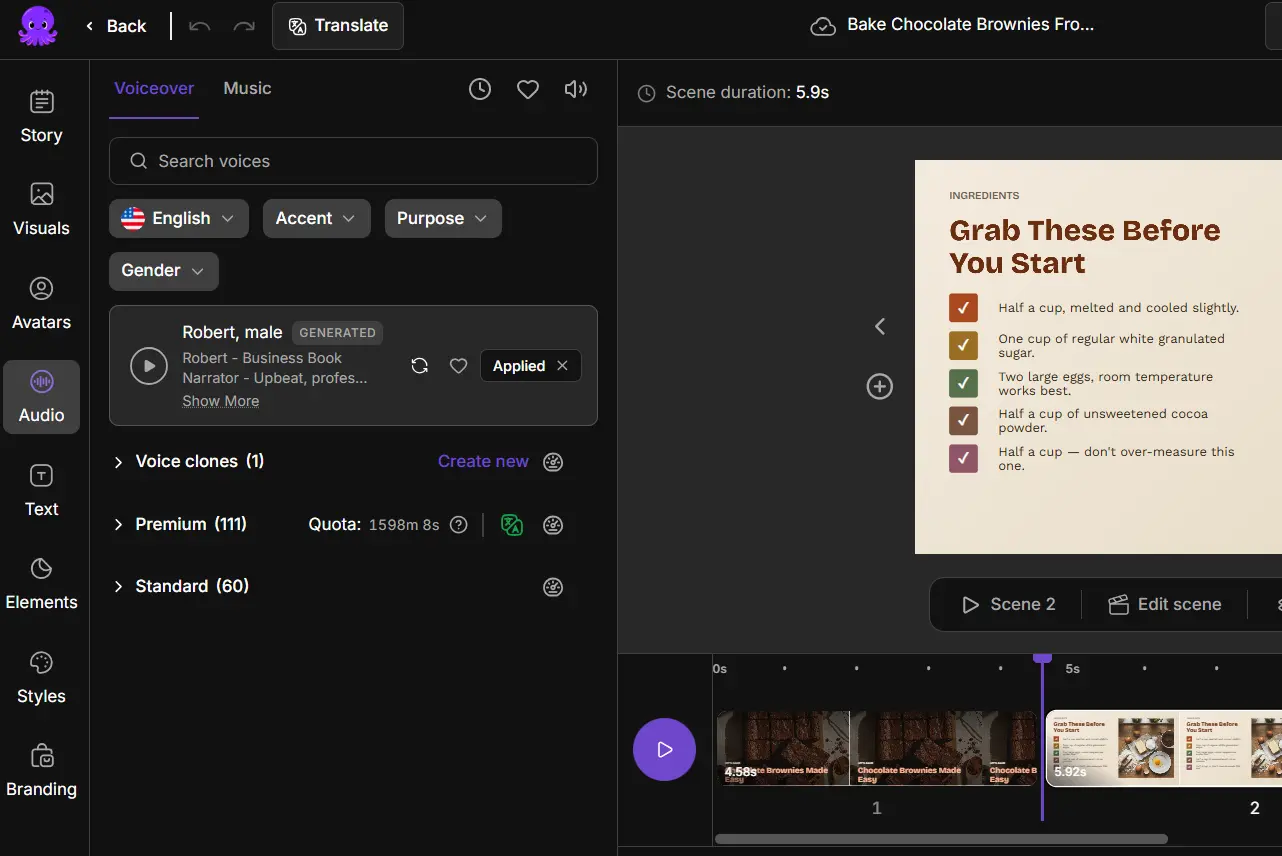
Use the recording as the voiceover, or choose an AI voice instead.
Step 4: Choose visuals, format, and brand
Choose the visuals, aspect ratio, and brand, then create the preview.
Step 5: Refine and generate
Ask the agent for changes or open the editor, then select Generate video.
Should the recording be the voiceover or an AI voice?
Use the recording as the voiceover to preserve its words, pauses, and timing. Pictory then skips the normal script-review step. Choose an AI voice instead and Pictory uses the transcript to create an editable script.
What are the limits of this workflow?
- It doesn't remove filler words or clean up audio.
- While the recording supplies the voiceover, narration rewrite and translation are restricted.
- Pronunciation and pause controls can't change words already spoken in a recording.
- To cut or restore passages, use the transcript workflow in Record, clean up, and repurpose existing videos.
For audio-only narration, this is the workflow to use. If your source is a video, see the recording guide above.
Try it on your next video
Bring a brief or a source and review the story before it renders.
Try Pictory free, no credit card required →Related Academy guides
Academy guide.
Academy guide.
Academy guide.
Academy guide.
The hub for everything in Pictory 3.
Frequently asked questions
Which audio formats can I upload?
Pictory 3 accepts MP3, WAV, M4A, AAC, and WEBM audio. A recording must be the only attached source, so you can't combine it with documents or URLs, and you can't add a new recording midway through chat. Upload one recording for each video.
What happens if I use my recording as the voiceover?
Pictory preserves the recording's words, pauses, and timing, and skips the normal script-review step. The video plays your original take. Narration rewrite and translation are restricted while the recording supplies the voiceover, so edit the source recording if you need different words.
What happens if I choose an AI voice instead?
Pictory uses the transcript to create an editable script, and an AI voice reads it. You can then review and change the script like any other Pictory 3 project, and use the pronunciation and pause controls to adjust how the AI voice speaks.
Can Pictory remove filler words from my audio?
Not in this workflow. Creating a video from an audio recording doesn't remove filler words or clean up audio. To remove filler words and pauses, use the transcript-editing workflow with a recorded or uploaded video, covered in the record and repurpose guide.
Can I use a podcast episode?
If you have the episode as an MP3, WAV, M4A, AAC, or WEBM file, you can upload it as the only source. Decide whether to keep the recording as the voiceover or have an AI voice read a script created from the transcript.
How to Turn an Audio Recording Into a Video With Pictory 2
The Audio to Video feature in Pictory AI allows you to transform your audio recordings into visually engaging videos. Whether you are converting a podcast, narration, or voiceover into a shareable video, this workflow automatically transcribes your audio, adds visuals, captions, and branding, and produces a polished final video in minutes.
What Is the Audio to Video Feature?
The Audio to Video workflow converts any uploaded audio file into a complete video presentation. Pictory’s AI listens to your audio, generates a transcript, and automatically builds scenes with matching visuals and captions.
Pictory’s AI will:
Transcribe your uploaded audio file automatically
Match visuals to your spoken words
Create editable scenes in a video storyboard
Add captions, music, and voiceovers as needed
Perfect for:
Podcasters turning episodes into social video clips
Coaches and educators who record lessons or lectures
Marketers converting audio ads into branded videos
Content creators repurposing voiceovers for visual storytelling
Step-by-Step: How to Use the Audio to Video Tool
Follow this guide to turn your audio into a professional, shareable video.
Step 1: Access the Audio to Video Tool
From your Pictory Home Page, select Audio to Video.
Upload your audio file by either dragging and dropping it into the upload box or clicking Browse to locate it on your computer.
You can also try the feature with a demo audio file to see how it works.

File requirements:
Maximum file size: 5 GB
Maximum duration: 180 minutes
Supported formats: MP3, WAV, M4A, and other standard audio types
Step 2: Select the Audio Language
Before uploading, choose the language of your audio (for example, English, Spanish, or French). This ensures that Pictory’s transcription and captions are accurate.
Once you have selected the correct language, click Start Upload to begin the process.


Step 3: Wait for Upload and Transcription
A progress screen will appear showing: “Audio uploading is in progress.”
You will also see a purple progress bar and the message: “It may take several minutes. You will be notified once completed.”
Pictory’s AI automatically transcribes your audio and begins matching visuals in the background.
You can continue working on other projects while this process completes.
Step 4: Review the Transcript
Once processing is complete, you will see your transcription in the Transcript Editor.
The workspace includes:
Transcription Tab: Full editable text of your audio
Highlights Tab: Option to select short clips from your audio

You can:
- Edit text directly
- Highlight key phrases

- Remove filler words or silences

- Search and replace text
- Adjust subtitle settings and style
The right-hand side displays your video preview, where the AI begins placing visuals to match your narration.

Step 5: Customize Subtitles and Text Styles
Pictory automatically generates subtitles synced with your audio. You can customize them by:
Adjusting the maximum number of lines per subtitle
Choosing from predefined styles such as Sleek, Clean, Bold, or Navy Blue
Modifying font size, color, and position
These settings ensure that your captions are clear, readable, and on-brand.
Step 6: Generate the Storyboard
Once your transcript is ready, click Create Video to generate your storyboard.
A message will appear: “Please wait while the video storyboard is being created…”
During this process, Pictory’s AI:
Matches visuals to your script content
Builds scenes for each sentence or paragraph
Adds captions automatically
When finished, your storyboard opens in the AI Video Editor for full customization.
Step 7: Edit and Customize Your Video
Inside the AI Video Editor, you can:
Edit text and timing under the Story Tab
Replace visuals using Library, AI Studio, or Uploads in the Visuals Tab
Add music or adjust audio levels in the Audio Tab
Apply your Brand Kit in the Branding Tab for consistent colors, logos, and fonts
Insert overlays, icons, and shapes using the Elements Tab
Use Preview Video at any time to review your edits.

Step 8: Preview and Export Your Video
When your video is ready, click Preview Video to check the final version.
Once satisfied, click Download Video to export in your preferred resolution and format. Your project will automatically save in My Projects, so you can revisit and make changes anytime.
Pro Tips for Best Audio-to-Video Results
Upload clear, high-quality audio to improve transcription accuracy.
Edit the transcript before generating your video for smoother visuals.
Use AI Studio visuals for custom, topic-relevant imagery.
Apply your Brand Kit to keep all content consistent.
Choose the right aspect ratio (16:9 for YouTube, 9:16 for TikTok, 1:1 for Instagram).
Why Use Pictory AI for Audio to Video
Pictory AI simplifies the process of turning your voice recordings into full videos.
You get:
Automatic transcription and captioning
AI-matched visuals for each section
Built-in music and voiceover options
Easy branding and export tools
It is the fastest and easiest way to create shareable videos from any audio file.
Frequently Asked Questions
What types of audio files can I upload?
You can upload MP3, WAV, M4A, and other standard formats up to 5 GB or 180 minutes long.
Does Pictory create captions automatically?
Yes. Captions are generated automatically from your audio transcript and can be customized.
Can I add visuals after the video is generated?
Yes. You can replace or enhance visuals using stock footage, AI Studio, or your own uploads.
Can I brand my videos?
Yes. Apply your Brand Kit under the Branding Tab to add your logo, fonts, and brand colors.
Can I adjust subtitle styles and timing?
Yes. Use the Subtitles section to edit text style, color, size, and positioning.