Wondering how to make a YouTube video? This guide breaks down the entire process, step-by-step. From setting up your account and planning your content, to filming, editing, and uploading your finished video — we’ve got you covered. Whether you’re just starting or looking to improve, this guide provides all the essential tips and tricks.
Key Takeaways
To start a successful YouTube channel, begin by creating a detailed YouTube account and identifying your target audience to tailor your content effectively.
Planning is key: Choose the right video topics, use storyboards for visual guidance, and write engaging scripts to keep your content focused and appealing.
Optimize your YouTube videos for SEO with effective keyword research, catchy titles, and appealing custom thumbnails to increase visibility and attract more viewers.
Getting Started with Your YouTube Journey
Starting your YouTube journey is an exhilarating experience, brimming with potential for creativity and growth. Before you plunge into the universe of video creation, laying a solid foundation for your channel is a necessary first step. This involves not only setting up your account but also understanding who you’re creating content for.
We’ll dissect these vital initial steps that will guide you towards YouTube success.
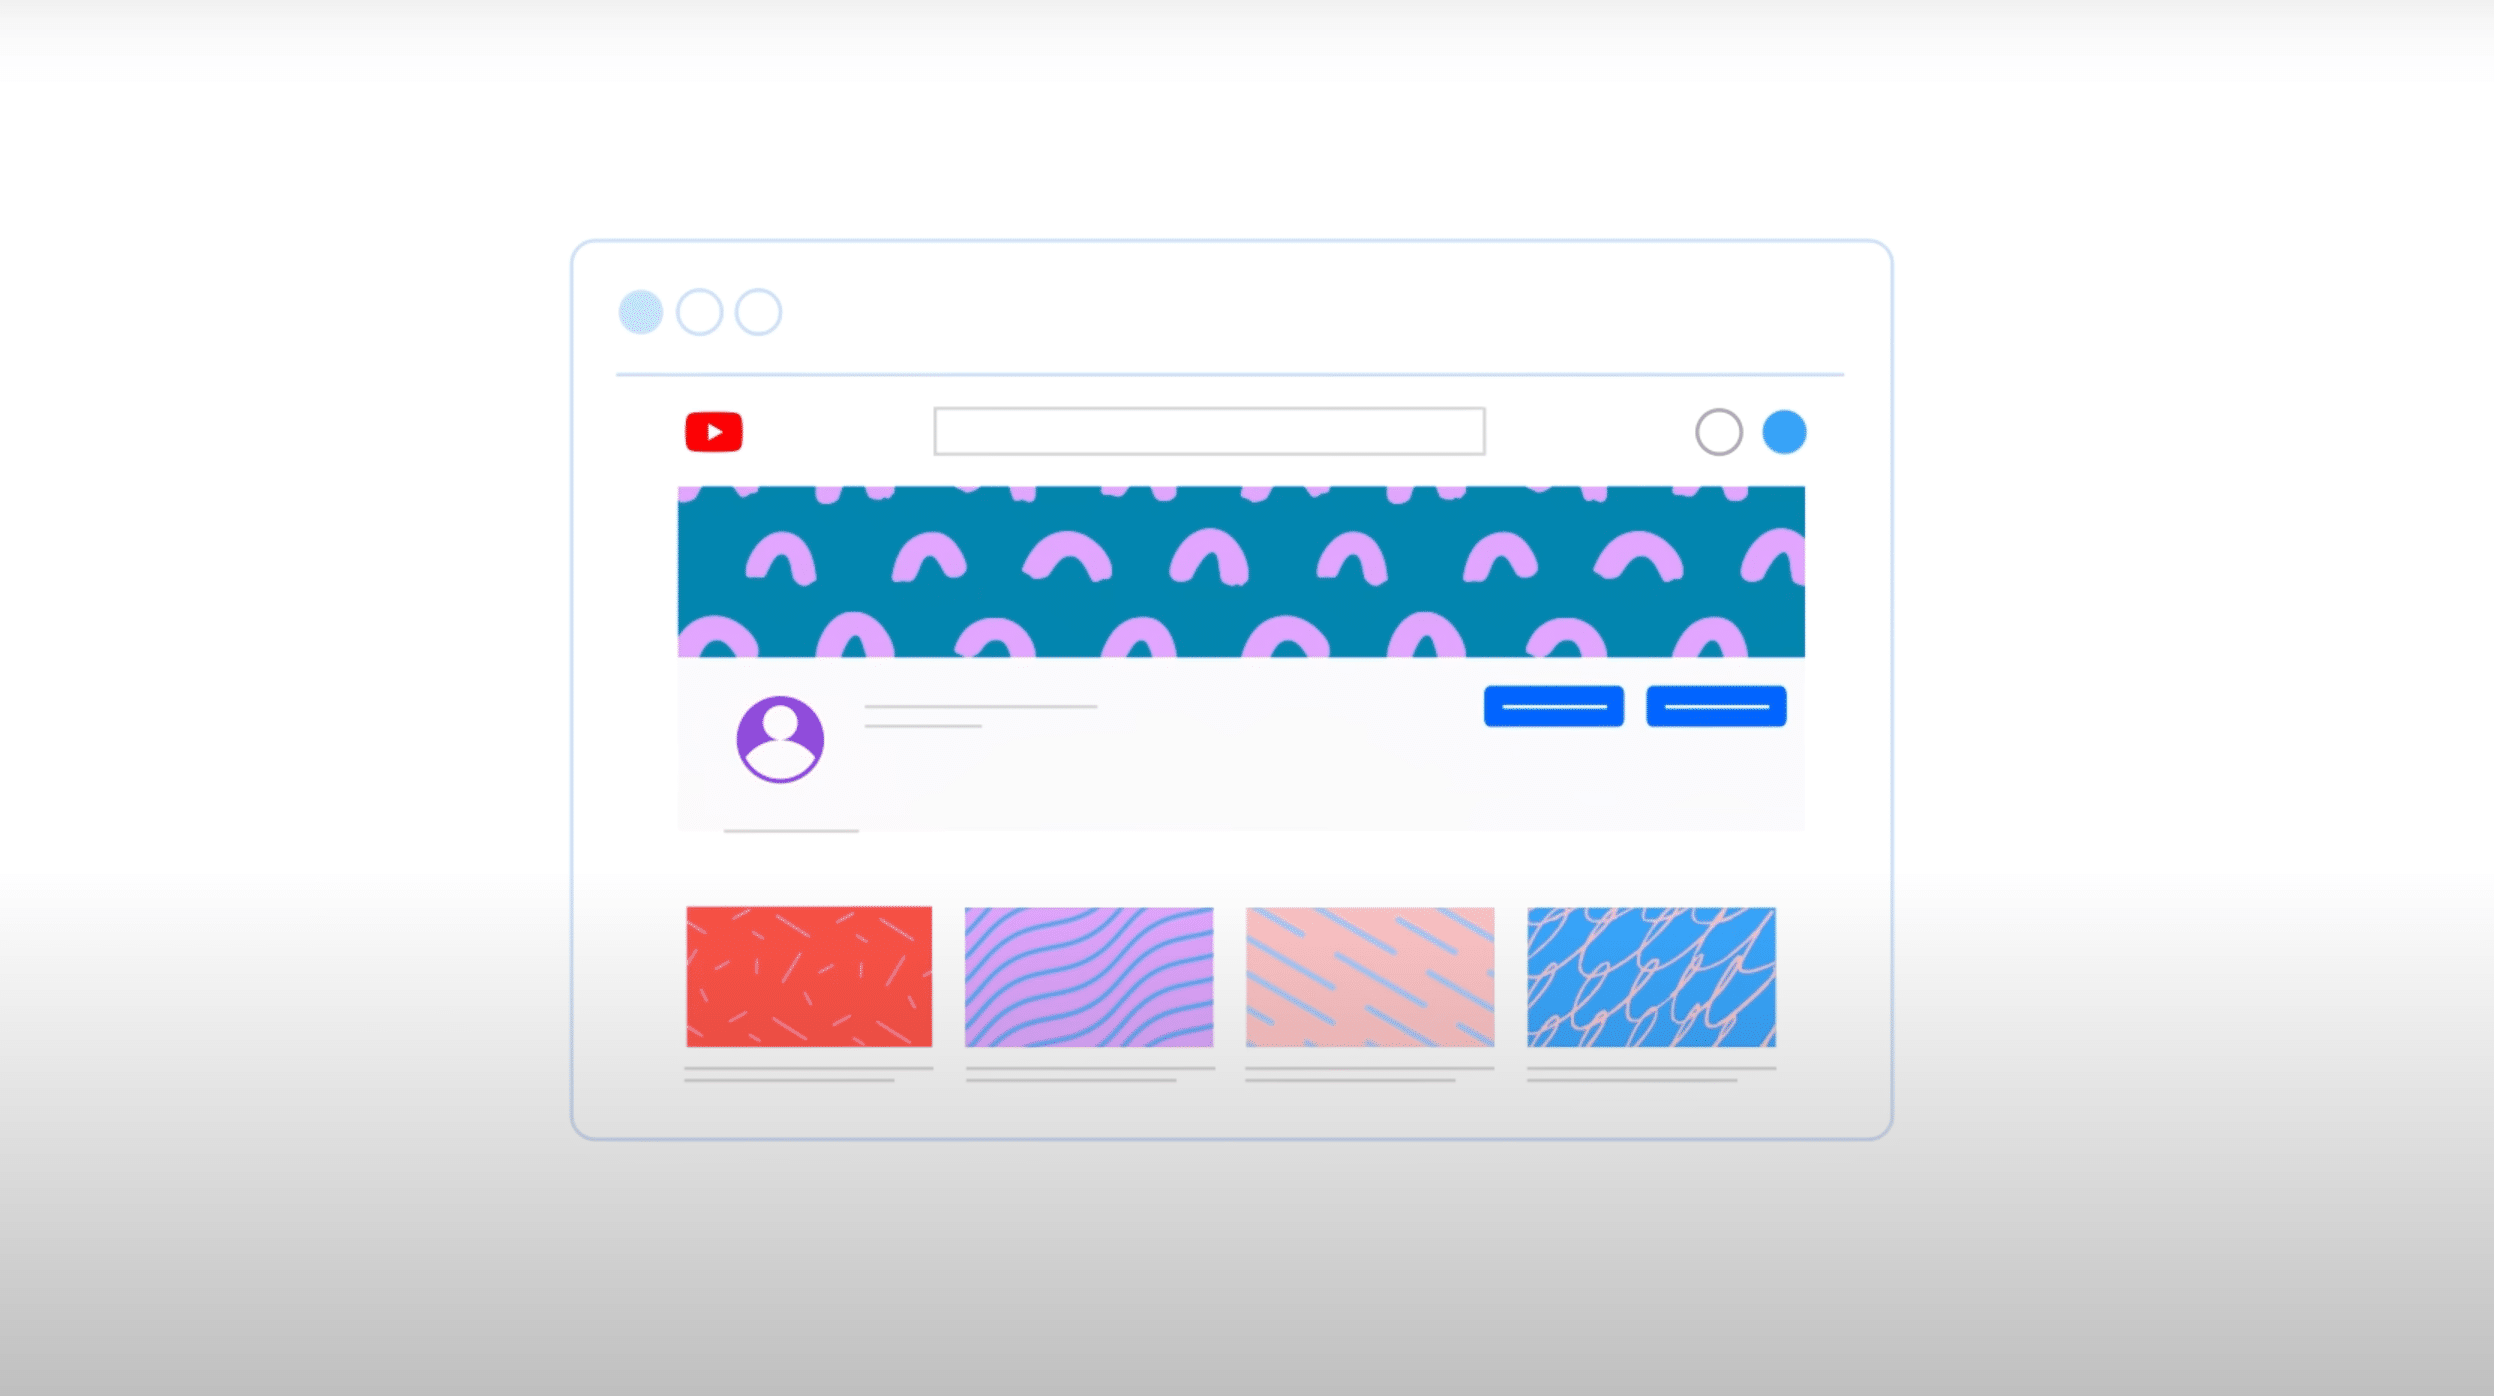
Create a YouTube Account
Your YouTube journey commences with a straightforward but indispensable action: setting up your YouTube account to make a YouTube channel. Start by signing in to YouTube with your Google account. If you don’t have one, you’ll need to create it first.
Once logged in, follow these steps to create a channel:
Click on the user icon and select “Create a channel.”
You’ll be prompted to choose between creating a personal channel or a brand channel.
After making your selection, follow the prompts to set up your channel name, add a description, and upload a profile picture. Remember, your channel name and profile picture are your first impression on potential viewers, so choose wisely!
After establishing your account, spend some time getting acquainted with YouTube Studio, the central platform for managing your videos and channel settings.
Identify Your Target Audience
Grasping who your target audience is pivotal in making content that resonates and cultivates a dedicated following. Start by defining your niche – what specific topics or themes will your channel focus on? This will help you narrow down your target audience.
Research your potential viewers’ demographics, interests, and online behaviors. What other channels do they watch? What problems are they trying to solve? Use tools like Google Trends to identify popular topics within your niche. Don’t forget to analyze your competitors’ channels to understand what works well in your chosen field.
Remember, the more specific you can be about your target audience, the better you can tailor your content to meet their needs and preferences. This focused approach will not only help you create more engaging videos but also make it easier to grow your channel over time.
Planning Your YouTube Video Content
Having established your channel and pinpointed your target audience, you’re now ready to delve into the thrilling realm of content planning. This crucial stage sets the foundation for your video’s success, ensuring that your content is not only engaging but also aligned with your channel’s goals.
Effective planning involves choosing the right topic, creating a visual roadmap with a storyboard, and crafting a compelling script. Let’s explore each of these elements in detail, providing you with the tools you need to create YouTube videos that captivate your audience from start to finish.
Choose the Right Topic
Choosing the ideal subject for your YouTube video is a vital step that can determine the success or failure of your content. Here are some steps to help you choose the right subject:
Start by brainstorming ideas that align with your channel’s niche and your audience’s interests.
Use tools like Google Trends or YouTube’s search suggestions to identify popular topics and keywords in your field.
Don’t be afraid to put your unique spin on trending subjects.
Research your competitors’ content to find gaps or areas where you can offer a fresh perspective.
Remember, the best topics are those that not only interest your audience but also excite you as a creator. Your passion will shine through in your video, making it more engaging and authentic. Consider creating a content calendar to plan out your topics in advance, ensuring a consistent flow of ideas and helping you stay organized in your video production process.
Create a Storyboard
A storyboard serves as your visual guide, materializing your video concept even before you commence recording. It’s a series of sketches or images that outline the key scenes in your video, helping you visualize the flow and structure of your content. Don’t worry if you’re not an artist – simple stick figures and basic shapes will do!
Start by breaking your video idea into key segments or scenes. For each scene, create a simple drawing that represents the main action or visual element. Include notes about camera angles, transitions, and any text or graphics you plan to overlay. This process not only helps you organize your thoughts but also identifies potential issues or improvements before you start filming.
A well-crafted storyboard can save you time during filming and editing, ensuring a smoother production process and a more cohesive final product.
Write a Script
Constructing a well-articulated script forms the core of a triumphant YouTube video. It keeps your content focused, ensures you cover all necessary points, and helps maintain a smooth flow throughout your video. Here’s how to create an effective script:
Start by outlining the main points you want to cover.
Flesh out the outline into full sentences or paragraphs.
Write in a conversational tone that matches your on-camera persona.
Include cues for any B-roll footage, graphics, or transitions you plan to use.
By following these steps, you’ll be able to create a script that engages your audience and delivers your message effectively.
Don’t forget to write a strong opening hook to grab your viewers’ attention in the first few seconds, and a clear call-to-action at the end. As you write, read your script aloud to ensure it sounds natural and flows well. This practice will also help you identify any tongue-twisters or awkward phrases before you start filming.
Remember, your script is a guide, not a strict rule – allow room for spontaneity and natural reactions during filming.
Preparing to Film

Now that your content is planned and your script is prepared, it’s time to gear up for the production of your YouTube video. Proper preparation is key to creating a professional-looking video that engages your audience and represents your brand well. This stage involves gathering the right equipment, setting up your filming space, and getting yourself camera-ready.
Whether you’re filming in a home studio or on location, these preparations will help ensure a smooth filming process and a high-quality final product. Let’s dive into the essential steps you need to take before you hit that record button.
Gather Filming Equipment
Gathering the appropriate gear is key to producing first-rate YouTube videos. While you don’t need to break the bank, investing in some basic gear can significantly improve your video’s production value.
To start your YouTube journey, you’ll need a few essential tools:
A good camera – this could be a DSLR, a mirrorless camera, or even a high-end smartphone. Remember, many successful YouTubers started with just their phone cameras!
A tripod – essential for stable shots, preventing shaky footage that can distract viewers.
Good lighting – consider investing in a basic lighting kit or ring light to ensure your subject is well-lit.
With these tools, you’ll be well-equipped to create high-quality videos for your YouTube channel.
Don’t neglect audio quality – a decent external microphone, such as a lapel mic or a shotgun mic, can dramatically improve your sound. As you grow your channel, you can gradually upgrade your equipment, but remember – great content is more important than having the most expensive gear.
Set Up Your Filming Space
Setting up the ideal filming environment involves more than merely aesthetics – it’s about designing a space that augments your video quality and mirrors your brand. Start by choosing a quiet location to minimize background noise. If you’re filming indoors, consider using a room with good natural light or set up your lighting equipment to create a three-point lighting system: a key light, fill light, and backlight. This setup ensures even illumination and adds depth to your shots.
Pay attention to your background – it should be clean and uncluttered, but not boring. Consider adding elements that reflect your personality or brand, such as plants, artwork, or relevant props. If you’re using a green screen, ensure it’s properly lit and wrinkle-free. Before you start filming, do a quick test video to check your framing, lighting, and audio quality. This extra step can save you from frustrating reshoots later on.
Remember, your filming space sets the tone for your video, so take the time to get it right.
Get Camera Ready
Being camera-ready involves more than merely looking impressive – it’s about exuding confidence and comfort in front of the camera. Start by dressing appropriately for your video’s content and your brand image. Choose clothes that are comfortable and don’t clash with your background. If you wear makeup, opt for a natural look that enhances your features without being distracting.
Practice good posture and body language – stand or sit up straight, and try to appear open and engaging. One of the most important skills to master is making eye contact with the camera lens, not the screen. This creates a connection with your viewers, making them feel like you’re talking directly to them. If you’re nervous, try using props or a whiteboard to give your hands something to do.
Remember, it’s normal to feel a bit awkward at first, but with practice, you’ll become more comfortable on camera. Think of the lens as a friend you’re having a conversation with, and let your personality shine through.
Recording Your YouTube Video
With all the groundwork done, it’s time for the thrilling part – filming your YouTube video! This is where your planning, scripting, and setup come together to create engaging content for your audience. Recording a great video involves more than just pressing the record button; it’s about balancing technical aspects with your on-camera performance.
In this section, we’ll dive into the essential technical settings to ensure your video looks and sounds professional, as well as performance tips to help you shine on camera. Remember, the goal is to create content that not only looks good but also connects with your viewers on a personal level.
Technical Settings
Adjusting your technical settings correctly is vital for creating a top-notch YouTube video. Start by checking your camera’s resolution settings. While YouTube supports various resolutions, aim for at least 1080p (Full HD) if your equipment allows it. Higher resolutions like 4K can provide even better quality but require more storage and processing power.
Set your frame rate – 24fps or 30fps are standard for most content, while 60fps can be great for fast-moving scenes or gaming videos. Ensure your audio settings are optimized; use manual audio levels if possible to avoid automatic adjustments that might affect sound quality. If you’re using external lighting, adjust your camera’s white balance to match.
Before you start your main recording, do a quick test video to check all your settings, including clear audio. This extra step can save you from the frustration of realizing your entire video was out of focus or the audio was too low. Remember, while you can fix some issues in post-production, getting it right in-camera will save you time and ensure the best possible quality.
Performance Tips
Regardless of the technical perfection, your on-camera performance can determine the success or failure of your first YouTube video. The key is to be authentic and engaging. Here are some tips to help you:
Start strong – the first 15 seconds of your video are crucial for grabbing viewers’ attention. Jump right into your content with energy and enthusiasm.
Speak clearly and at a steady pace, varying your tone to keep things interesting.
Use open, confident body language – stand or sit up straight, make gestures to emphasize points, and remember to smile!
Eye contact is crucial; look directly into the camera lens to create a connection with your viewers.
If you make a mistake, don’t stop recording. Instead, take a breath and continue. Often, these small imperfections can make your video feel more authentic and relatable. Practice active listening if you’re interviewing someone or responding to comments. Most importantly, let your personality shine through. Your unique perspective and style are what will set your content apart and keep viewers coming back for more.
Remember, the more videos you make, the more comfortable and natural you’ll become on camera, so it’s a great idea to make a YouTube video and keep making videos.
Editing Your YouTube Video
Having captured your video, it’s now time to convert your raw footage into a refined, captivating final product via the art of editing. This crucial step can elevate your content from good to great, enhancing your message and keeping viewers hooked from start to finish. Editing is where you’ll:
Trim unnecessary footage
Add transitions and effects
Fine-tune your audio
Inject additional creativity into your video, whether through clever cuts, text overlays, or background music
While the editing process can seem daunting at first, with practice and the right tools, you’ll soon be creating professional-looking videos that stand out in the crowded YouTube landscape by mastering the art of editing video.
Basic Editing Techniques
Acquiring fundamental editing techniques is crucial in producing enticing YouTube videos. Start with the fundamental skill of trimming your clips. Remove any unnecessary footage, false starts, or long pauses to keep your video concise and engaging.
Next, focus on creating smooth transitions between scenes. Some options for transitions include:
Simple cuts
Fade-ins
Fade-outs
More creative transitions where appropriate
Experiment with different transitions to find what works best for your video.
Pay attention to your audio editing as well. Adjust volume levels to ensure consistency throughout your video, and consider adding background music to enhance the mood.
Don’t forget about color correction – adjusting the brightness, contrast, and color balance can significantly improve the visual appeal of your footage.
If you’re using the YouTube video editor, you can easily trim, splice, or cut your videos directly in the browser.
Remember, good editing should be almost invisible to the viewer, enhancing your content without distracting from your message.
Adding Titles and Effects
Incorporating titles and effects can lend a professional flair to your YouTube videos and aid in emphasizing your message. Here are some tips to help you:
Start by creating an eye-catching intro that includes your channel name or logo. This helps with brand recognition and gives your video a polished look.
Use text overlays to introduce different segments of your video or to highlight key points.
When adding text, ensure it’s easy to read – choose fonts and colors that contrast well with your video background.
Visual effects can enhance your video, but use them sparingly. Simple effects like zooms, pans, or subtle animations can add interest without overwhelming your content. Consider adding lower thirds – text at the bottom of the screen – to introduce speakers or provide additional information. Sound effects, when used judiciously, can add emphasis or create transitions between segments. YouTube Studio offers a library of music and sound effects you can use to enhance your video.
Remember, the goal is to use titles and effects to support and enhance your content, not to distract from it.
Using Video Editing Software
Selecting the appropriate video editing software can profoundly influence the quality and productivity of your editing workflow. For beginners, the built-in YouTube video editor is a great starting point. It’s free, easy to use, and allows you to perform basic edits like trimming, splicing, and adding simple effects directly in your browser. As you grow more comfortable with editing, you might want to explore more advanced software options, including audio editing software for enhancing your video’s sound quality. For Windows users, Adobe Premiere Pro and DaVinci Resolve are popular choices, offering a wide range of professional-grade features. Mac users might prefer Final Cut Pro X, known for its user-friendly interface and powerful capabilities. There are also cross-platform options like Filmora, which strikes a balance between functionality and ease of use.
For those looking to streamline their video creation process, AI-powered tools like Pictory are revolutionizing the way creators approach video editing. Pictory offers a one-stop-shop solution for creating YouTube videos quickly and easily. Its powerful AI assistant can help with various aspects of video production, from script writing to video editing. With a massive media library of over 3 million videos, images, and 15,000 music tracks, Pictory provides ample resources for enhancing your content. It also offers the option to record or upload voiceovers, or even use realistic AI voices. One of the most significant advantages of Pictory is its cloud-based nature, eliminating the need for software downloads and ensuring compatibility with both PC and Mac. This innovative tool allows users to create their first fully-captioned video in less than 10 minutes, making it an excellent option for creators looking to produce high-quality content efficiently.
Optimizing Your YouTube Video for SEO
Producing exceptional content constitutes only half the journey towards YouTube success. To guarantee your videos reach your intended viewers, optimizing them for search engine visibility is essential. YouTube is the world’s second-largest search engine, and understanding how to make your videos easily discoverable can significantly boost your channel’s growth. SEO optimization involves several key elements, including keyword research, crafting compelling titles and descriptions, and creating eye-catching thumbnails.
By implementing these strategies, you can increase your video’s visibility in search results and suggested video feeds, ultimately driving more traffic to your content. Let’s dive into the essential techniques for optimizing your YouTube videos for SEO.
Keyword Research
Efficient keyword investigation forms the backbone of YouTube SEO. Here are some steps to follow:
Start by brainstorming topics and phrases related to your video content.
Use YouTube’s search bar to see what auto-suggestions come up – these are often popular search terms.
Tools like Google Trends can help you identify trending topics and compare the popularity of different keywords over time.
By following these steps, you can improve your YouTube SEO and increase the visibility of your videos.
Pay attention to the following tips for optimizing your YouTube videos:
Use long-tail keywords – these are longer, more specific phrases that might have less competition but can attract a more targeted audience.
Analyze your competitors’ videos to see what keywords they’re targeting in their titles, descriptions, and tags.
Consider your audience’s search intent – what questions are they trying to answer or problems are they trying to solve?
By following these tips, you can improve the visibility and reach of your YouTube videos.
Once you’ve compiled a list of potential keywords, prioritize them based on relevance to your content and search volume. Remember, the goal is to find a balance between popular terms and those where you can realistically compete for rankings.
Crafting Catchy Titles and Descriptions
The title and description of your video play a pivotal role in both SEO and drawing viewers. For titles, aim to be catchy and informative while incorporating your main keyword. Keep titles under 60 characters to ensure they don’t get cut off in search results. Use power words or numbers to make your titles more compelling, e.g., “5 Easy Tips for…” or “The Ultimate Guide to…”.
For descriptions, start with a brief, engaging summary of your video content. Include your main keyword in the first couple of sentences. Use the rest of the description (up to 5000 characters) to provide more details about your video, include relevant links, and add timestamps for longer videos. Don’t forget to include a call-to-action, encouraging viewers to like, comment, and subscribe.
Sprinkle in relevant keywords naturally throughout the description, but avoid keyword stuffing, which can hurt your SEO. Remember, while optimizing for search engines is important, your primary goal should be to accurately represent your content and entice real people to click and watch.
Custom Thumbnails
Custom thumbnails serve as your video’s billboard on YouTube, playing a significant role in garnering clicks and enhancing your click-through rate (CTR). A well-designed thumbnail can significantly increase your video’s visibility and appeal.
Here are some tips for creating an effective, eye catching thumbnail:
Create a thumbnail that accurately represents your video content while being visually striking.
Use high-contrast colors and clear, easy-to-read text.
Include a close-up of a face if relevant, as human faces tend to attract attention.
By following these tips, you can create a compelling thumbnail that will help attract more viewers to your videos.
Ensure your thumbnail is clear and recognizable even at small sizes, as many viewers will see it on mobile devices. Keep your thumbnail style consistent across your videos to build brand recognition. Use tools like Canva or Adobe Spark to create professional-looking thumbnails if you’re not comfortable with advanced design software. Remember, YouTube requires thumbnails to be 1280×720 pixels (16:9 ratio) and less than 2MB in size.
A verified YouTube account allows you to:
Upload custom thumbnails
Test different thumbnail styles
Analyze their performance
Refine your approach over time
Make sure your account is verified to take advantage of these features.
Uploading and Promoting Your YouTube Video
You’ve developed your video, refined it during editing, and optimized it for SEO. Now, it’s time for the thrilling part – unveiling your creation to the world! Uploading your video to YouTube is just the beginning. To maximize your video’s reach and impact, you need a solid promotion strategy. This involves not only leveraging YouTube’s features but also extending your reach across other social media platforms.
Additionally, engaging with your audience plays a crucial role in building a loyal community around your channel. In this section, we’ll walk you through the process of uploading your video, share strategies for promoting it effectively, and discuss ways to foster engagement with your viewers.
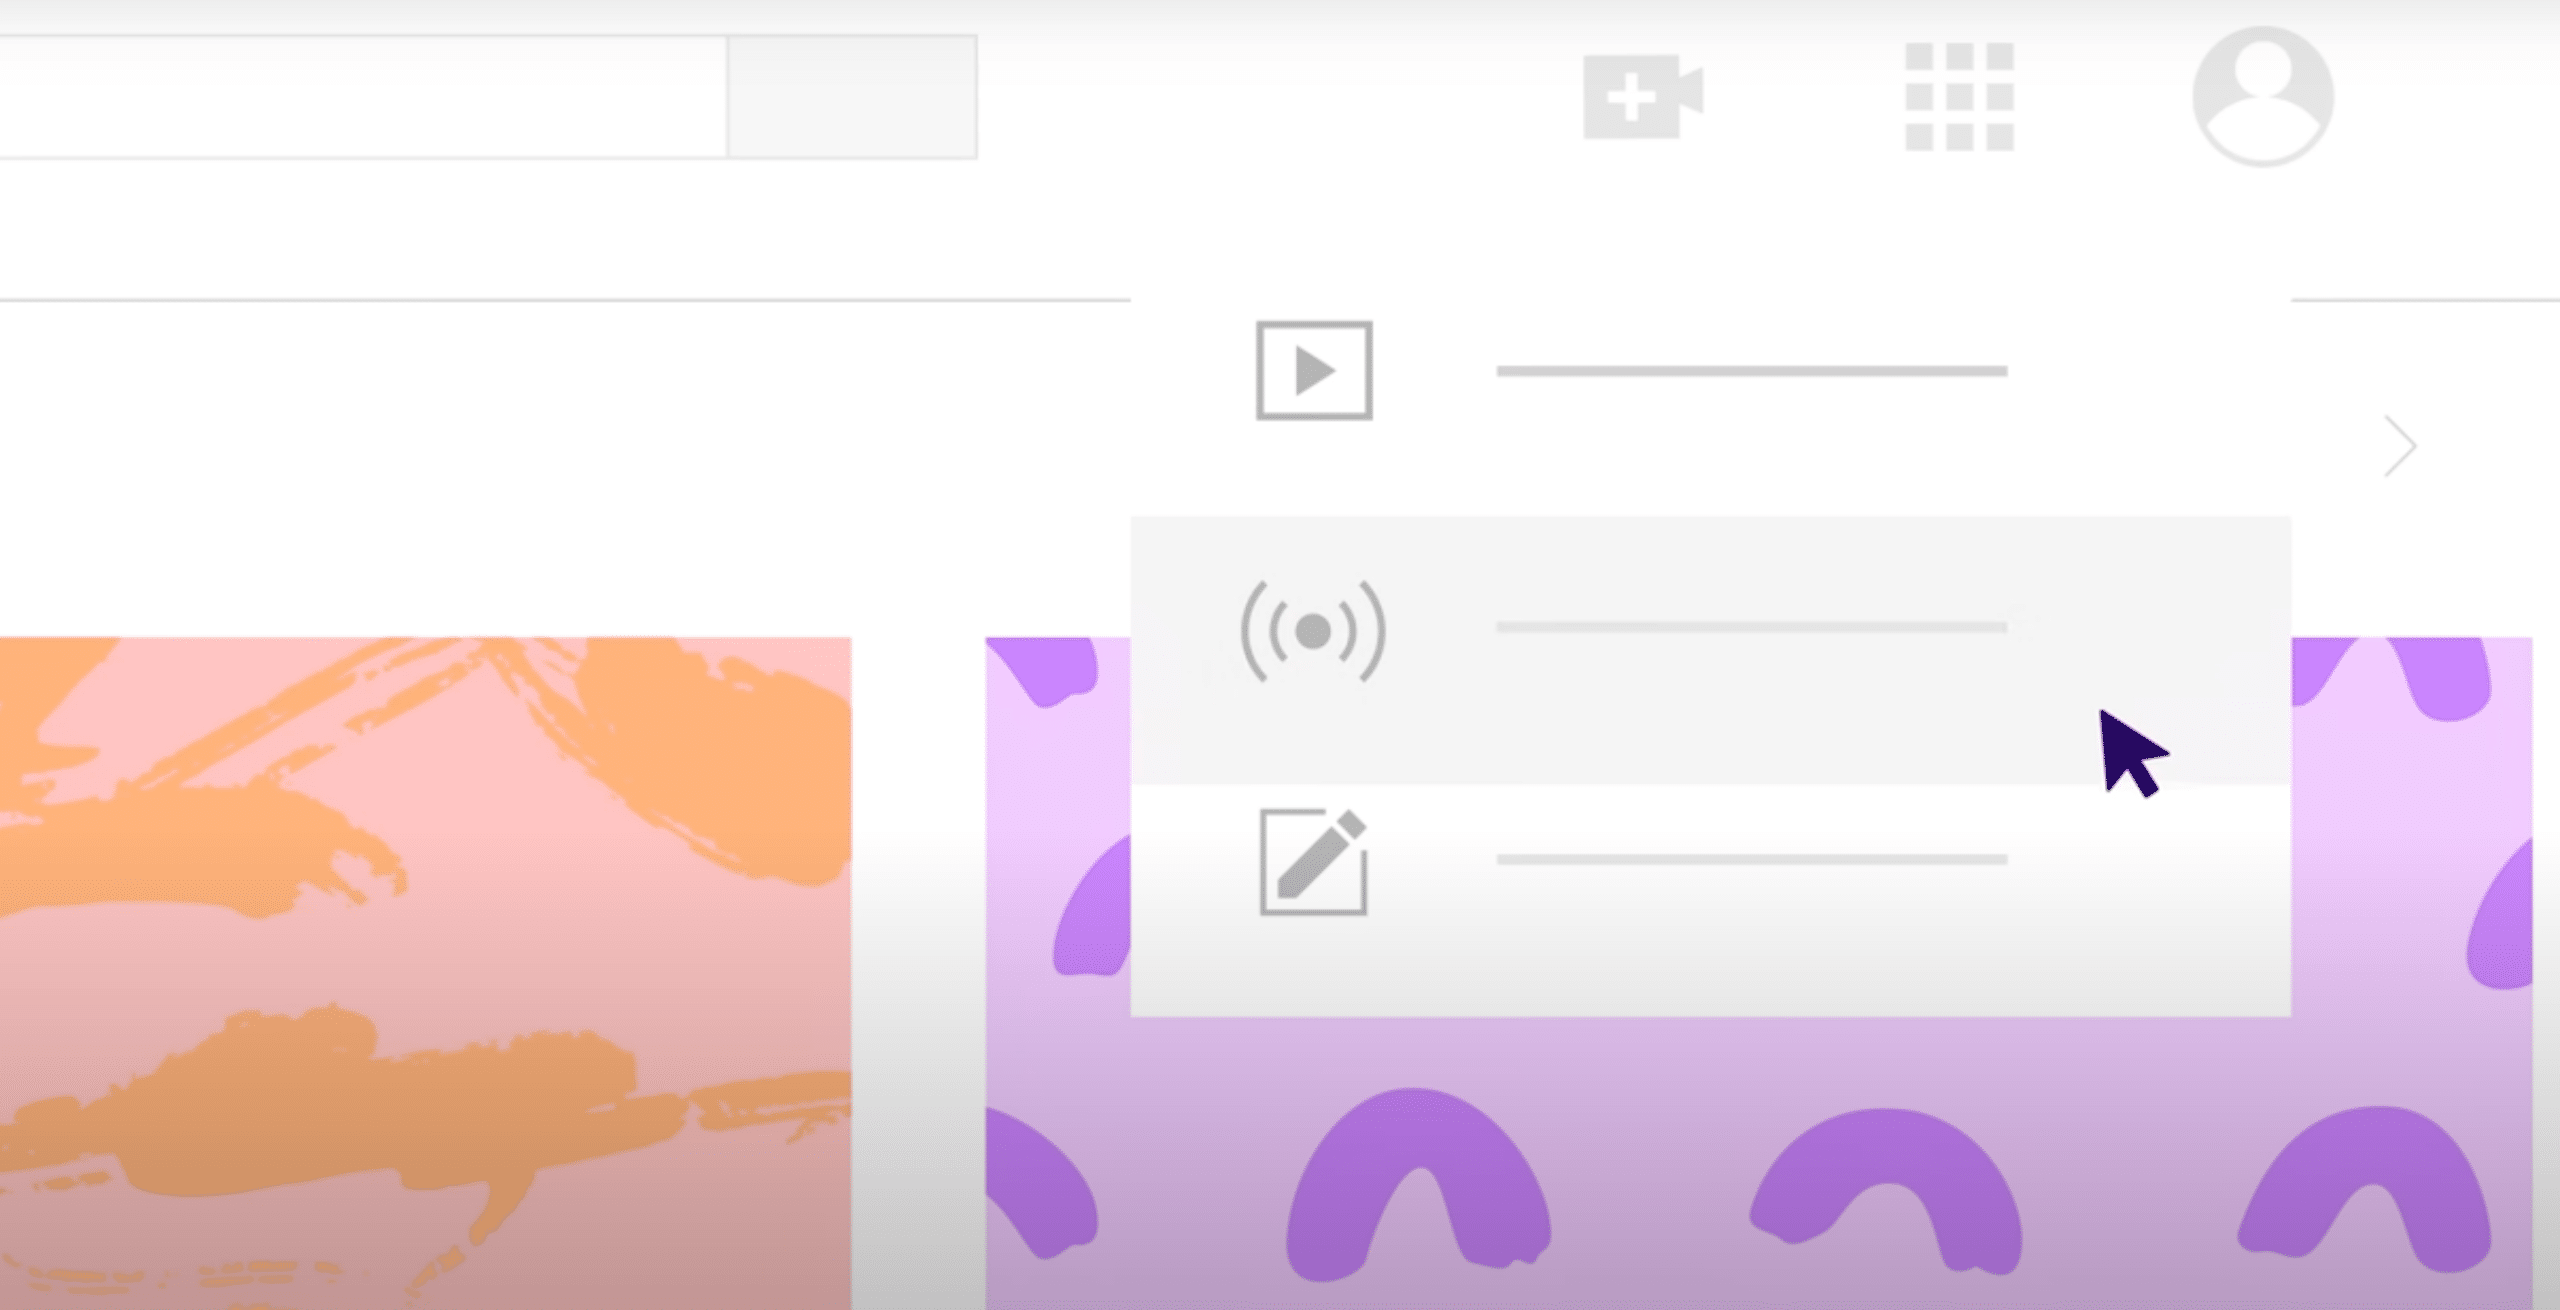
Uploading to YouTube
Uploading your video to YouTube is a simple procedure, but it involves several crucial steps to ensure your content is showcased in the most flattering manner. Here’s how to do it:
Sign into YouTube Studio and click the “Create” button in the top right corner.
Select “Upload videos.”
Choose your video file and begin the upload process.
While your video is uploading, you can start filling in important details.
To optimize your YouTube video, follow these steps:
Add your optimized title and description, making sure to include relevant keywords.
Select or upload your custom thumbnail.
Choose appropriate tags that relate to your video content.
Set your video’s privacy settings – you can choose between Public, Private, or Unlisted.
If you’re not ready to publish immediately, you can schedule your video for a future date and time.
Use the “Advanced settings” to add a category, disable comments if needed, and set age restrictions if your content isn’t suitable for all audiences.
Once everything is set, click “Publish” (or “Schedule” if you’ve chosen a future publish time). Remember, YouTube will process your video to make it available in different quality settings, which may take some time depending on your video’s length and resolution.
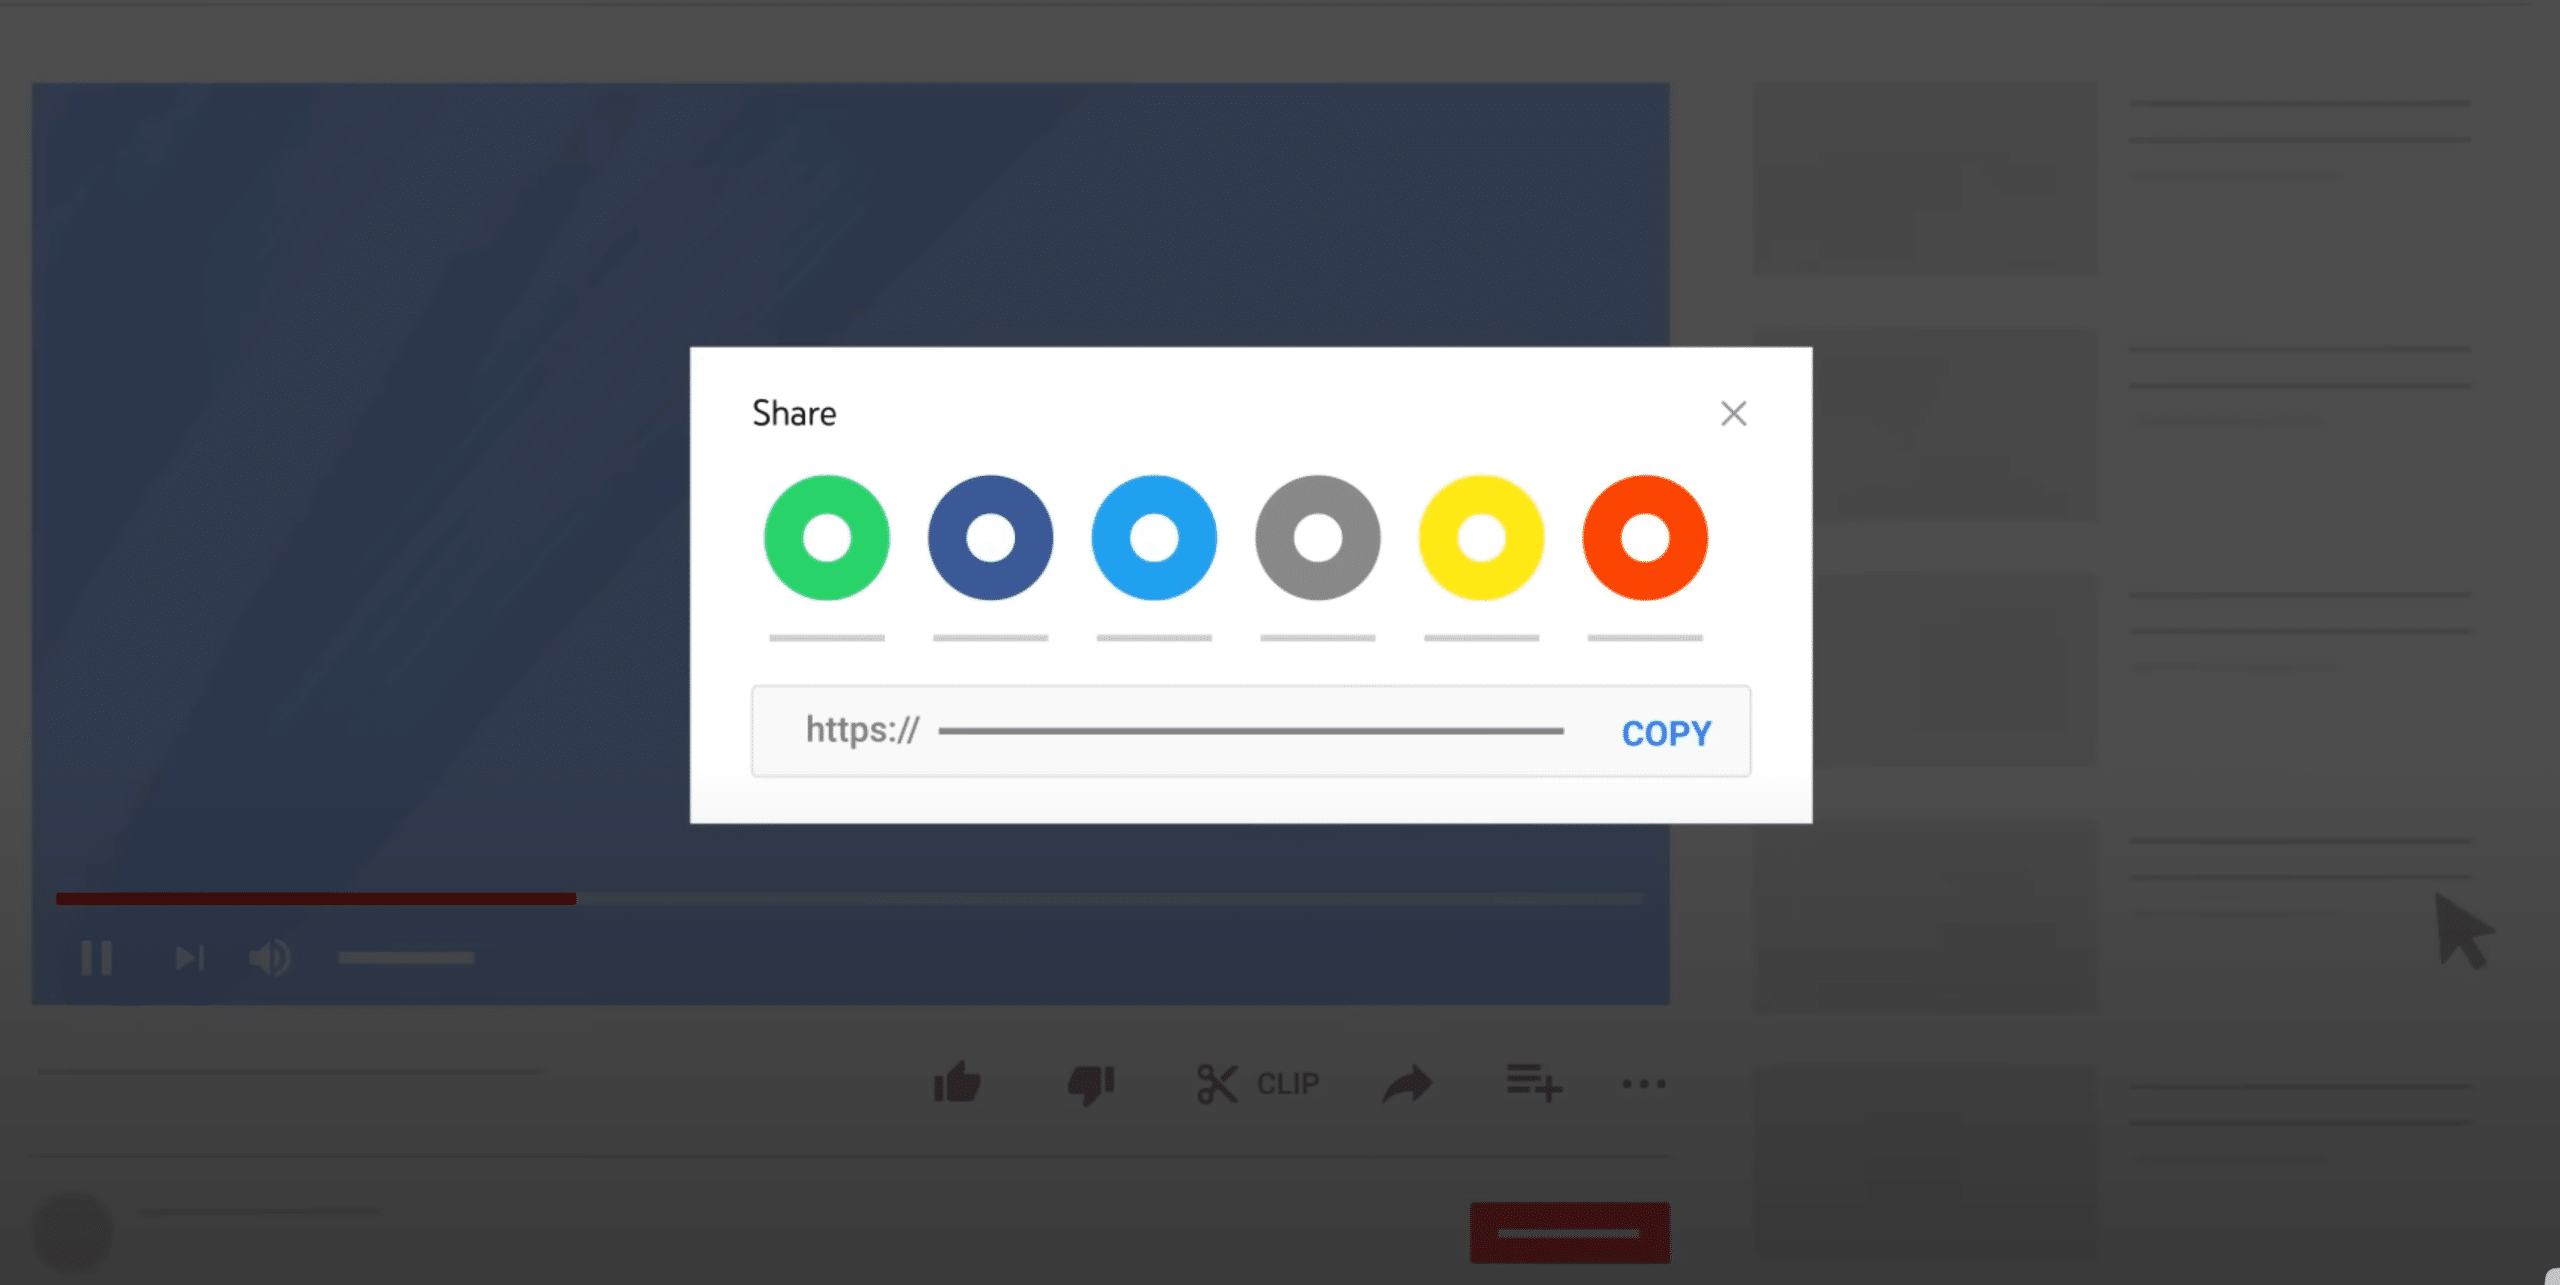
Sharing on Social Media Platforms
Publicizing your YouTube video across diverse social media platforms can markedly enhance its visibility and outreach. Start by sharing your video on major platforms like:
Facebook: You can share your video directly or create a post with a compelling description and link.
Twitter: It’s great for short, catchy promotions – use relevant hashtags to increase discoverability.
Instagram: Create a visually appealing post or story that teases your video content, and use the “link in bio” feature to direct followers to your YouTube channel.
Each platform has its unique features and audience, so tailor your approach accordingly.
Don’t forget about professional networks like LinkedIn if your content is relevant to a business audience. Consider:
Creating platform-specific teasers or behind-the-scenes content to drive interest in your full YouTube video
Engaging with your followers’ comments and questions to boost visibility and foster community
Remembering to space out your promotions over time rather than sharing everything at once
Always encouraging your followers to subscribe to your YouTube channel for more content
Engaging with Your Community
Cultivating and interacting with your community is vital for sustained success on YouTube. Start by responding to comments on your videos promptly and thoughtfully. This shows your audience that you value their input and encourages further interaction.
Use the “Community” tab on your YouTube channel to post updates, polls, or behind-the-scenes content between video uploads. This keeps your audience engaged and gives them a reason to visit your channel regularly.
Consider hosting live streams to interact with your viewers in real-time – this can be a great way to answer questions, get feedback, or simply connect with your audience on a more personal level.
Encourage viewers to subscribe to your channel and turn on notifications so they don’t miss your new uploads. Create a consistent posting schedule and stick to it – this helps build anticipation and loyalty among your viewers.
Don’t be afraid to ask your audience for feedback or suggestions for future content. This not only provides you with valuable insights but also makes your viewers feel involved in your channel’s growth.
Remember, building a community takes time and effort, but it’s one of the most rewarding aspects of being a YouTuber.
Monetizing Your YouTube Channel
As your YouTube channel expands and gains momentum, you might begin contemplating the prospects of generating revenue from your content. Monetization can be an exciting next step in your YouTube journey, turning your passion project into a potential source of revenue. There are several ways to monetize your YouTube channel, from ad revenue through the YouTube Partner Program to brand sponsorships and merchandise sales. Each method has its own requirements and benefits, and many successful YouTubers use a combination of these strategies to maximize their earnings.
In this section, we’ll explore the main avenues for monetization, providing you with the knowledge to start turning your YouTube hobby into a profitable venture.
Ad Revenue
One of the most direct methods to monetize your YouTube channel is by generating ad revenue through the YouTube Partner Program (YPP). To be eligible for YPP, your channel needs to have at least 1,000 subscribers and 4,000 watch hours in the past 12 months. Once you meet these requirements, you can apply for the program.
If accepted, you can enable monetization on your videos, allowing YouTube to display ads before, during, or alongside your content. You’ll earn a share of the revenue generated from these ads. The amount you earn can vary widely based on factors like your niche, audience demographics, and the type of ads displayed. It’s important to note that not all views will generate revenue – factors like ad blockers and viewer location can affect this.
To maximize your ad revenue, focus on creating engaging content that keeps viewers watching for longer periods, as this can lead to more ad impressions. Remember, while ad revenue can be a great passive income stream, it shouldn’t be your only monetization strategy, especially when you’re just starting out.
Sponsorships and Partnerships
As your channel evolves, brand sponsorships and collaborations can transform into a profitable revenue stream. These collaborations involve promoting a company’s products or services in your videos in exchange for payment or free products. To attract sponsorships, focus on growing your audience and engagement rates. Brands are often more interested in your audience’s demographics and engagement levels than raw subscriber numbers.
Here are some tips to attract sponsorships:
Focus on growing your audience and engagement rates.
Create high-quality content that resonates with your target audience.
Engage with your audience through comments, likes, and shares.
Collaborate with other YouTubers or influencers in your niche.
Create a media kit that showcases your channel statistics, audience demographics, and previous successful collaborations.
By following these tips, you can increase your chances of attracting brand sponsorships and collaborations.
When approaching or being approached by brands, ensure their products align with your content and values – authenticity is key to maintaining your audience’s trust. Be transparent with your viewers about sponsored content, clearly disclosing when a video includes paid promotions. Remember to negotiate fair compensation based on your reach and the work involved. As you build relationships with brands, you might move from one-off sponsorships to long-term partnerships, providing a more stable income stream.
While sponsorships can be highly profitable, always prioritize your audience’s interests to maintain the integrity of your channel.
Selling Merchandise
Merchandise sales can serve as a superb strategy to monetize your channel while fortifying your brand identity. Once you’ve built a loyal following, your viewers may be interested in purchasing products associated with your channel. This could range from t-shirts and hoodies with your logo or catchphrases, to more niche products related to your content. Platforms like Teespring and Merchbar integrate directly with YouTube, making it easy to set up and promote your merchandise.
Start by identifying products that resonate with your audience and align with your brand. Consider running polls or asking for suggestions to gauge interest in different merchandise ideas. When designing your products, aim for quality and uniqueness – your merchandise should feel special to your fans. Use your videos to naturally showcase your merchandise, and consider creating specific content around product launches. Remember to promote your merchandise across all your social media platforms for maximum visibility.
As your channel grows, you might consider expanding into more diverse or premium products. Merchandise sales not only provide additional income but also help create a stronger connection with your audience, turning viewers into brand ambassadors.
Summary
Congratulations! You’ve now journeyed through the entire process of creating, optimizing, and monetizing a YouTube video. From setting up your channel and identifying your target audience, to planning and producing your content, editing your video, and finally sharing it with the world, you’ve gained a comprehensive understanding of what it takes to succeed on YouTube. Remember, the key to YouTube success lies in consistency, authenticity, and continuous learning. Don’t be discouraged if your first videos don’t go viral – building a successful channel takes time and persistence. Focus on creating valuable content for your audience, engage with your community, and stay up-to-date with the latest trends and best practices. As you grow, don’t forget to analyze your performance metrics and adjust your strategy accordingly. Whether you’re aiming to share your passion, educate others, or build a profitable brand, YouTube offers endless possibilities. So grab your camera, let your creativity shine, and start your YouTube journey today. Who knows? Your next video could be the one that catapults you to YouTube stardom!
Frequently Asked Questions
How often should I upload videos to my YouTube channel?
For a successful YouTube channel, aim for at least one high-quality video per week, but consistency is more important than frequency. Adjust your schedule based on your audience’s preferences and your own capacity.
Do I need expensive equipment to start a YouTube channel?
No, you don’t need expensive equipment to start a YouTube channel. Many successful YouTubers begin with just a smartphone camera and basic editing tools before gradually investing in better equipment as their channel grows. Remember, content and your unique perspective are more important than having the most expensive gear, especially when starting out.
How can I grow my YouTube subscriber base?
To grow your YouTube subscriber base, focus on consistently creating high-quality content, engaging with your audience, collaborating with other YouTubers, and promoting your videos across different social media platforms. Remember, providing value to your viewers is key to gaining more subscribers.
Is it possible to make a living from YouTube?
Yes, it’s possible to make a living from YouTube with a substantial time commitment and a dedicated audience. However, it’s essential to remember that only a minority of YouTubers achieve enough earnings to support themselves entirely through the platform. Prioritize passion for your content, and view monetization as a secondary objective.
How do I deal with negative comments on my videos?
Don’t take negative comments personally; they often say more about the commenter than about you. Respond professionally to constructive criticism and use YouTube’s moderation tools to filter out inappropriate language. Building a thick skin is part of the journey as a content creator.